Randall
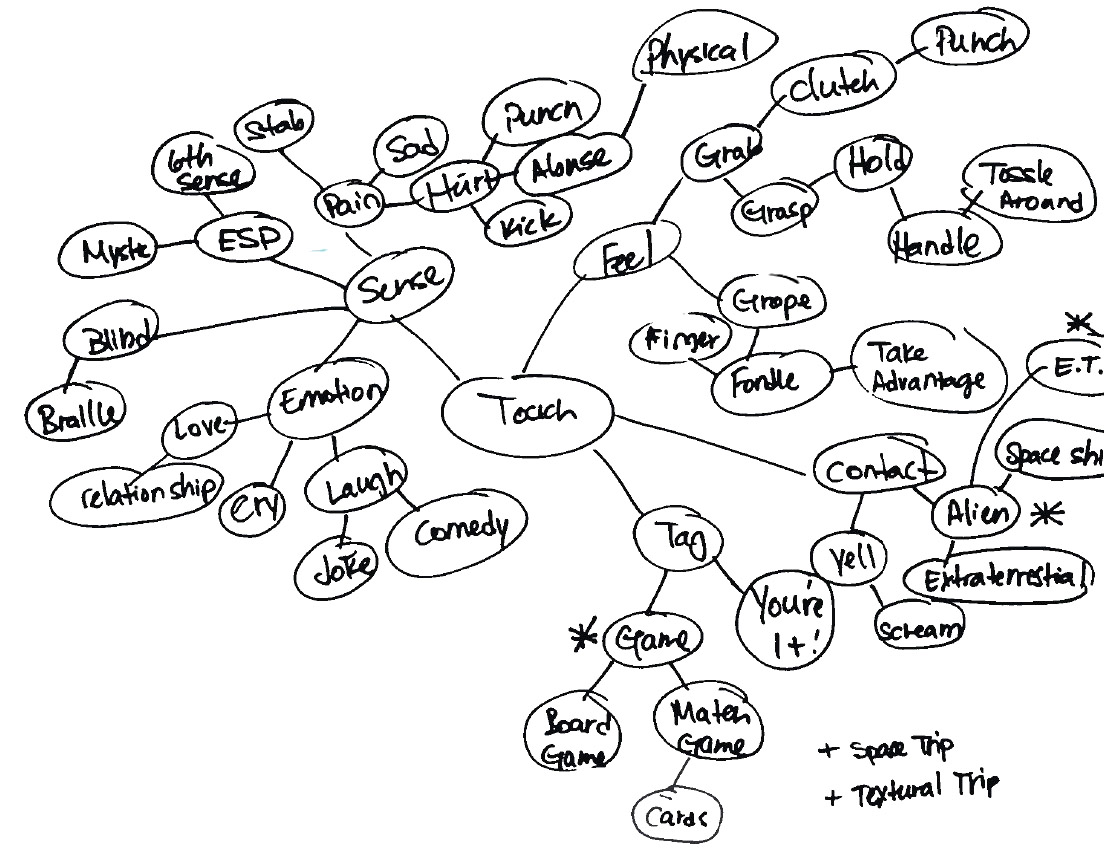
Tools Mind Map
![]()
Combine two different types of tools together into one image using a forced connection.
Create images that are as seamless as possible. Design 10 unique and compelling tool montage compositions.
Mind Map a Lot of Ideas
Create three mind maps on the subject of TOOLS with your classmates. Read about Mind Maps in the Graphic Design Thinking Book on page 22.
1
The mind maps should be on 8.5×11″ white unlined paper.
2
Use a strong thin black marker.
3
Write clearly and legibly.
4
Draw lines in between ideas.
Combine
Make 25 incongruous pairings of tool names. The stranger and more interesting the better. Choose words that evoke images or ideas in your mind. Use these words to search for images and to inspire your ideas. You may use a tool or one in two different pairings if necessary. Write down these twenty tool pairings.
Select
Select 10 of those pairings to explore with thumbnails. Make 3 sketches of each of your 10 tool combination ideas. You will have 30 sketches, or three sheets when you are done. Each sketch must be a completely different idea from the last one. Use different angles of tools for variety.
Image Research
While you are sketching it may be helpful to see images of the tools you are drawing. Collect 3-5 images for each tool. Put them a separate folder for each pair to organize them. You will need to collect around 60-80 images. Don’t worry, it will not take long. Consider using specific search terms “ball hammer”, or “ww2 bomb” instead of just ‘bomb’.
Read
Read about Forced Connections in GD Thinking…
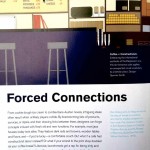
GD Thinking / Forced Connections
Due Wednesday, Sepetember 9
- 3 Mind Maps per group. Each member should Photodocument them to use in your personal research.
- Do 3 thumbnails for each tool pair (three sheets of thumbnails)
- An organized collection of research images for each of your tool combinations.
- A web post documenting your research.
(categorized as “Tool Montage Post”) The purpose of this post is to encapsulate your research and preserve it for the course. Include the following:
> A few words about your response to this project.
> One of the mind maps from your group.
> Your 25 possible tool combinations as a list: 1. hammer + garden hose, etc
> your 10 choices and a sentence as to why this would be fun to do.
> A few of your best thumbnails. Not all of them. Just a sampling of the best ones. You can use this template to organize your drawings: tool_montage_thumbnails
You can shoot pictures of your thumbnails with your cell phone or camera. Shoot in good, even lighting. Re-shoot blurry shots please….
Image preparation
- Select 10 different pairs of tools.
- Search the web for clean, images of good resolution (800px – 2000px). Try to find iconic images that you can separate from the backgrounds.
- Make a new folder in your ’01_Future Tools’ folder called ‘source’. This is where you store original web images.
- Make a new folder called ‘bitmaps’. This is where you save the finished high-contrast .PSD files
- Open these images in photoshop and turn them into grayscale images.
- Resize the images using ‘image size’ to 300dpi at 100%. The minimum dimension should be 6-8 inches.
- Isolate the main object from the background by selecting around them with the Polygon or magnetic lasso tool.
- Press ‘command + J’ to create a new layer with just the selection
- Delete the background layer.
- Take care to create clean images. Clean up any stray details you don’t want with the eraser tool.
- Save the image as .PSD into a the ‘sources’ folder.
- Adjust the contrast using ‘Levels’ to ‘bump up’ the black. Make the image slightly darker than you might normally.
- Turn the image into a ‘bitmap’ using the ‘50% Threshold’ or ‘halftone’ filters.
- If the image is too washed out or too black do ‘command + z’, make adjustments with levels and re-bitmap it.
- It you can’t make the image readable and strong then choose a different image.
- When the image looks good then ‘save as…’ (don’t save over your grayscale image!) into a new folder called ‘bitmap’.
- Repeat this process for all images.
Image Montage
- Create a new illustrator document at 6″ x 6″
- Save the image into the main ’04_montage’ folder
- ‘Place’ the images (shift + command + P) into the document at the correct size.
- Position them into a compelling relationship that is a cultural commentary.
- Take care to make a dynamic and powerful composition. Do not fill the space. Use the white space effectively.
- Create a ‘clipping mask’ if necessary with the pen tool using the ‘object > clipping mask’ from the menu.
- Adjust the images and clipping masks as necessary.
- Create a new art board and build more images.
Due Monday, February 23
- Do 3 versions of each of the 10 montages using the same images.
- Choose the best one for each montage and print (10 total)
- Bring 10 dynamic, compelling image montages that create powerful incongruous meaning relationships.
- Printed, trimmed, ready to hang
- PDF with all 30 montages on DropBox

Leave a Reply
You must be logged in to post a comment.