- Â
å Wednesday, October 7th, 2015
í Translations 02 / Digital
Continue to develop your set of translations using digital processes.
Computer Translations
16. Curve Shapes Vector: use the pen tool with multiple curved shapes to create the forms.
17. Geometric Shapes vector: use the pen tool with only corner points (no curves) to create form.
18. Triangles: use only triangle to create all forms and values using that shape. Avoid letting the shapes touch each other.
19. Circles: use only circles (not ovals) with no overlap and space between
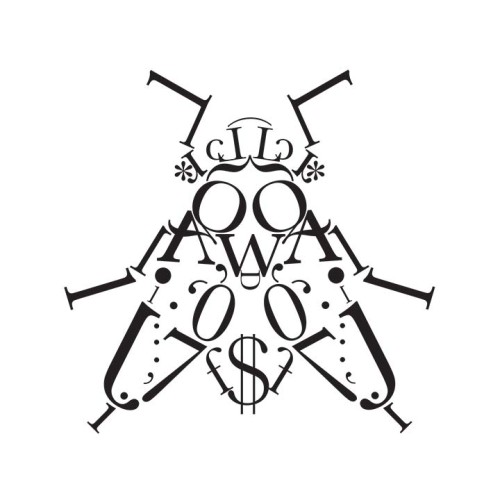
20. Type Image: use large and medium size letters. Do not use words, patterns or repetitive values. Evoke the dynamism of you creature. See this page.
21. Abstraction: amplify and simplify the creature’s features. This must express the idea and spirit of the creature using stylistic form.
Scan
Scan all previous hand-drawn translations. Do this as follows:
- Scan the translation.
- Enhance the contrast to sharp white and black contrast using ‘levels’ in PhotoShop
- Save the high-contrast scan in a ‘scans’ folder with other project files.
- Use the number of the translation from the project list as the file name, Please consult this page for translation numbers.
Auto-Trace
Convert your previous hand-drawn translations into vector art in Illustrator. Import each scan into illustrator and convert the bitmap image into a vector drawing using ‘auto-trace’. You will need to auto-trace the following hand translations. The numbers refer to the previous project list.
- # 2 Outline
- #3 Silhouette
- #4 Outline the interior and exterior forms of the image using a thin marker
- #5 Outline the same forms from #4 and fill in outlined forms with black
- #6 purely straight lines
- #7 filled straight line forms
- #10 thick expressive rendering
- #11 thin expressive rendering
- #12 thin & thick expressive rendering
- #14 Abstract the image by simplification and amplifying features in black pen
Bitmap Conversion
For translations with more tone such as a collage or finger smudge you will need to turn them into ‘half-tones’ in PhotoShop. The following will want to be turned into half-tone bitmaps and saved as .PSD files:
- Stippling
- Hand made style of your choice (newspaper, collage, thumbprint, etc).
- Your Choice (must be very different from above)
New Halftone Bitmaps
22. Original Photo as round 25 dot half-tone
23. Original Photo as round 9 dot half-tone
24. Original Photo as line 25 half-tone
25. Original Photo as line 9 line half-tone
Redraw as a vector
Redraw the single contour fat line as a vector line in illustrator. Start by importing the image and drawing on a layer on top of it.
Due Monday, March 30
- One PDF with 25 translations all positioned in the same place and scale.
- One folder with all of the translations as separate files.
- Translations number 16-25 printed and trimmed to 6″x6″
-
Classroom
-

Leave a Reply
You must be logged in to post a comment.