Randall
Image Book
Create a book comprised of purely formal decisions.
The content of this book is the form of the book, meaning that the book is not about what is in the book so much as it is about how it does it. In other words the form is the content.
What does this mean?
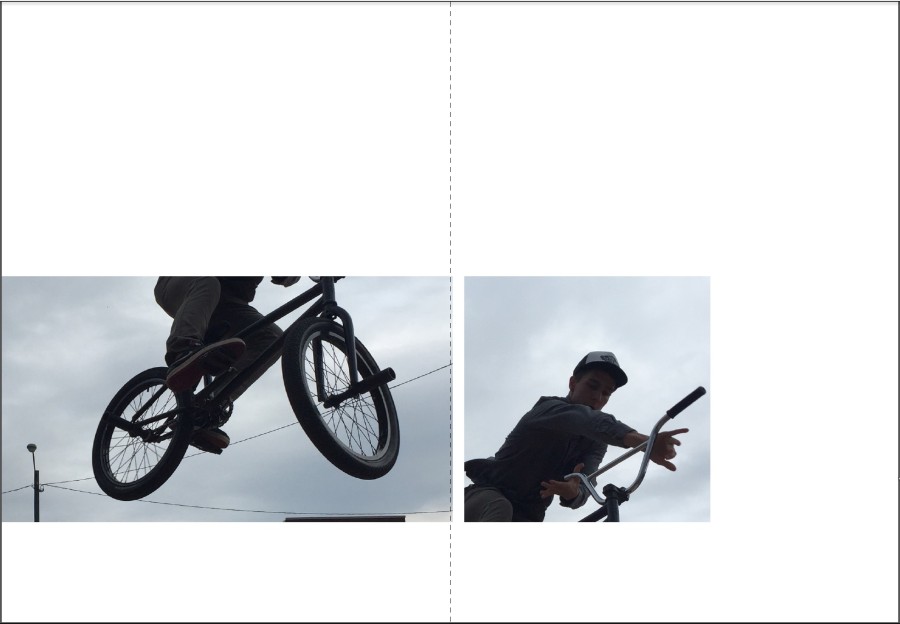
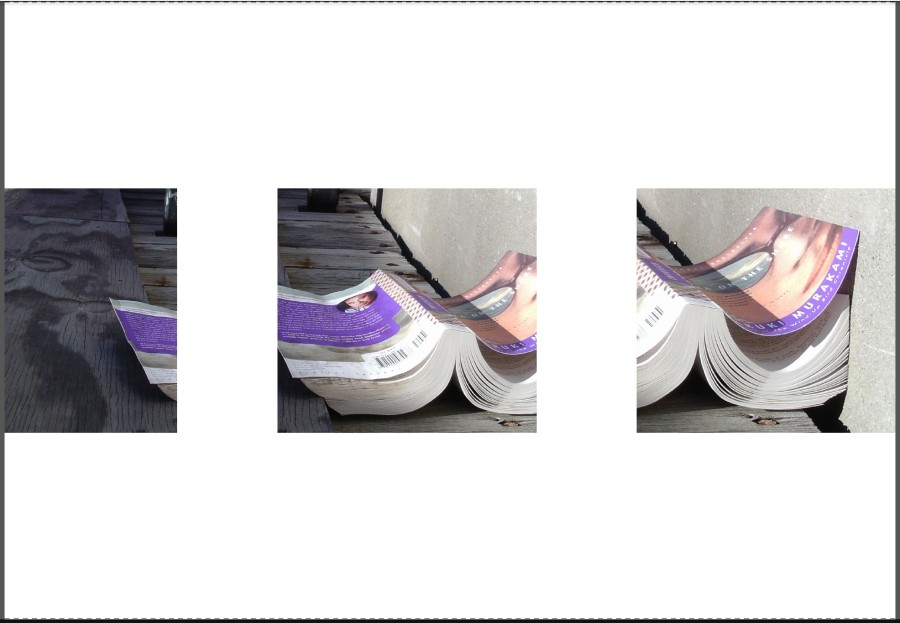
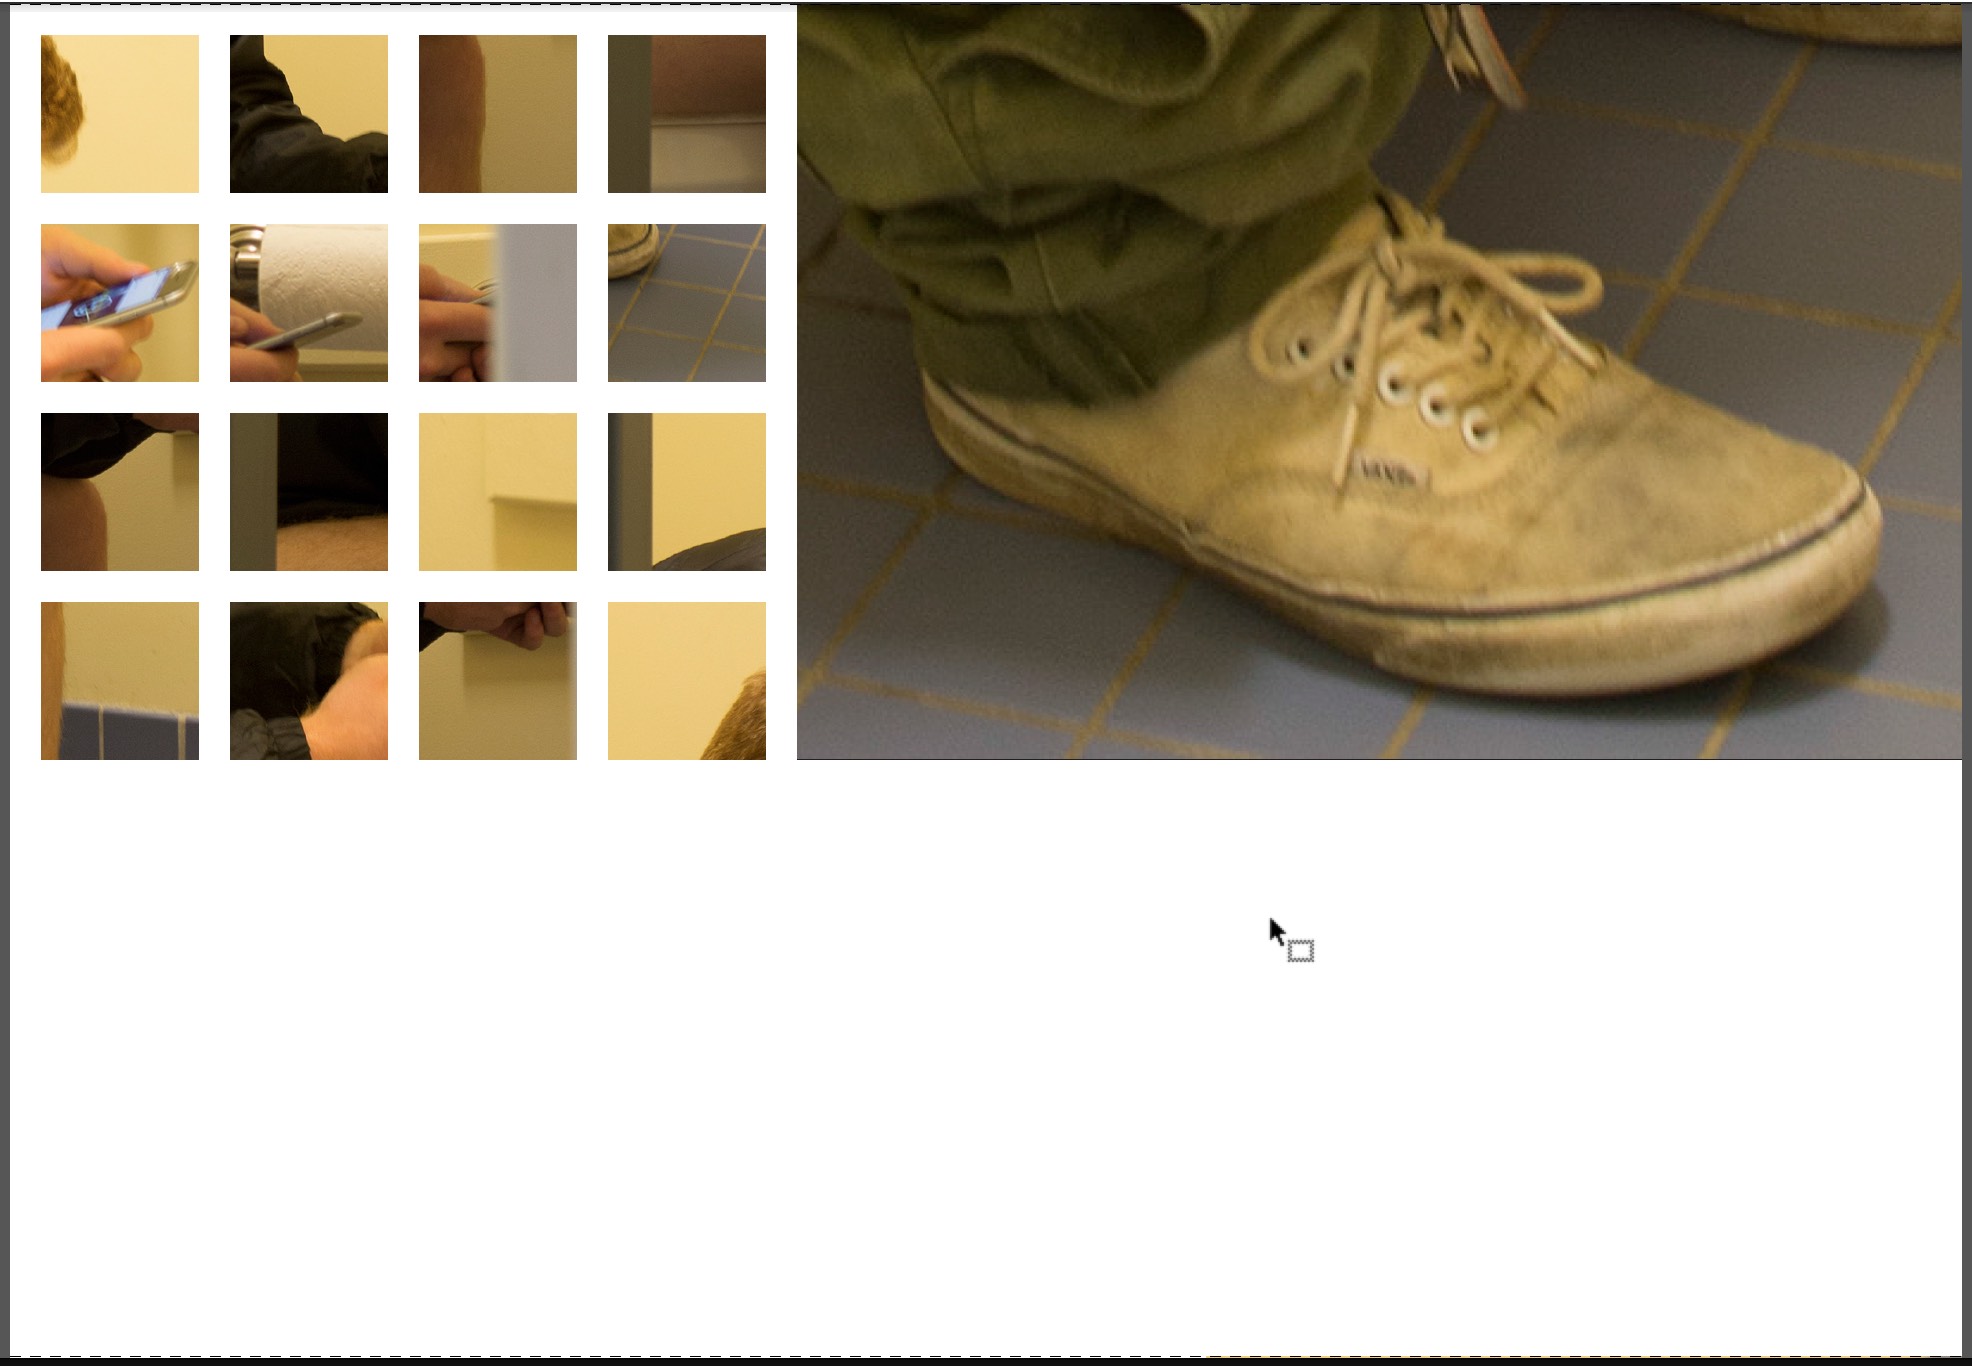
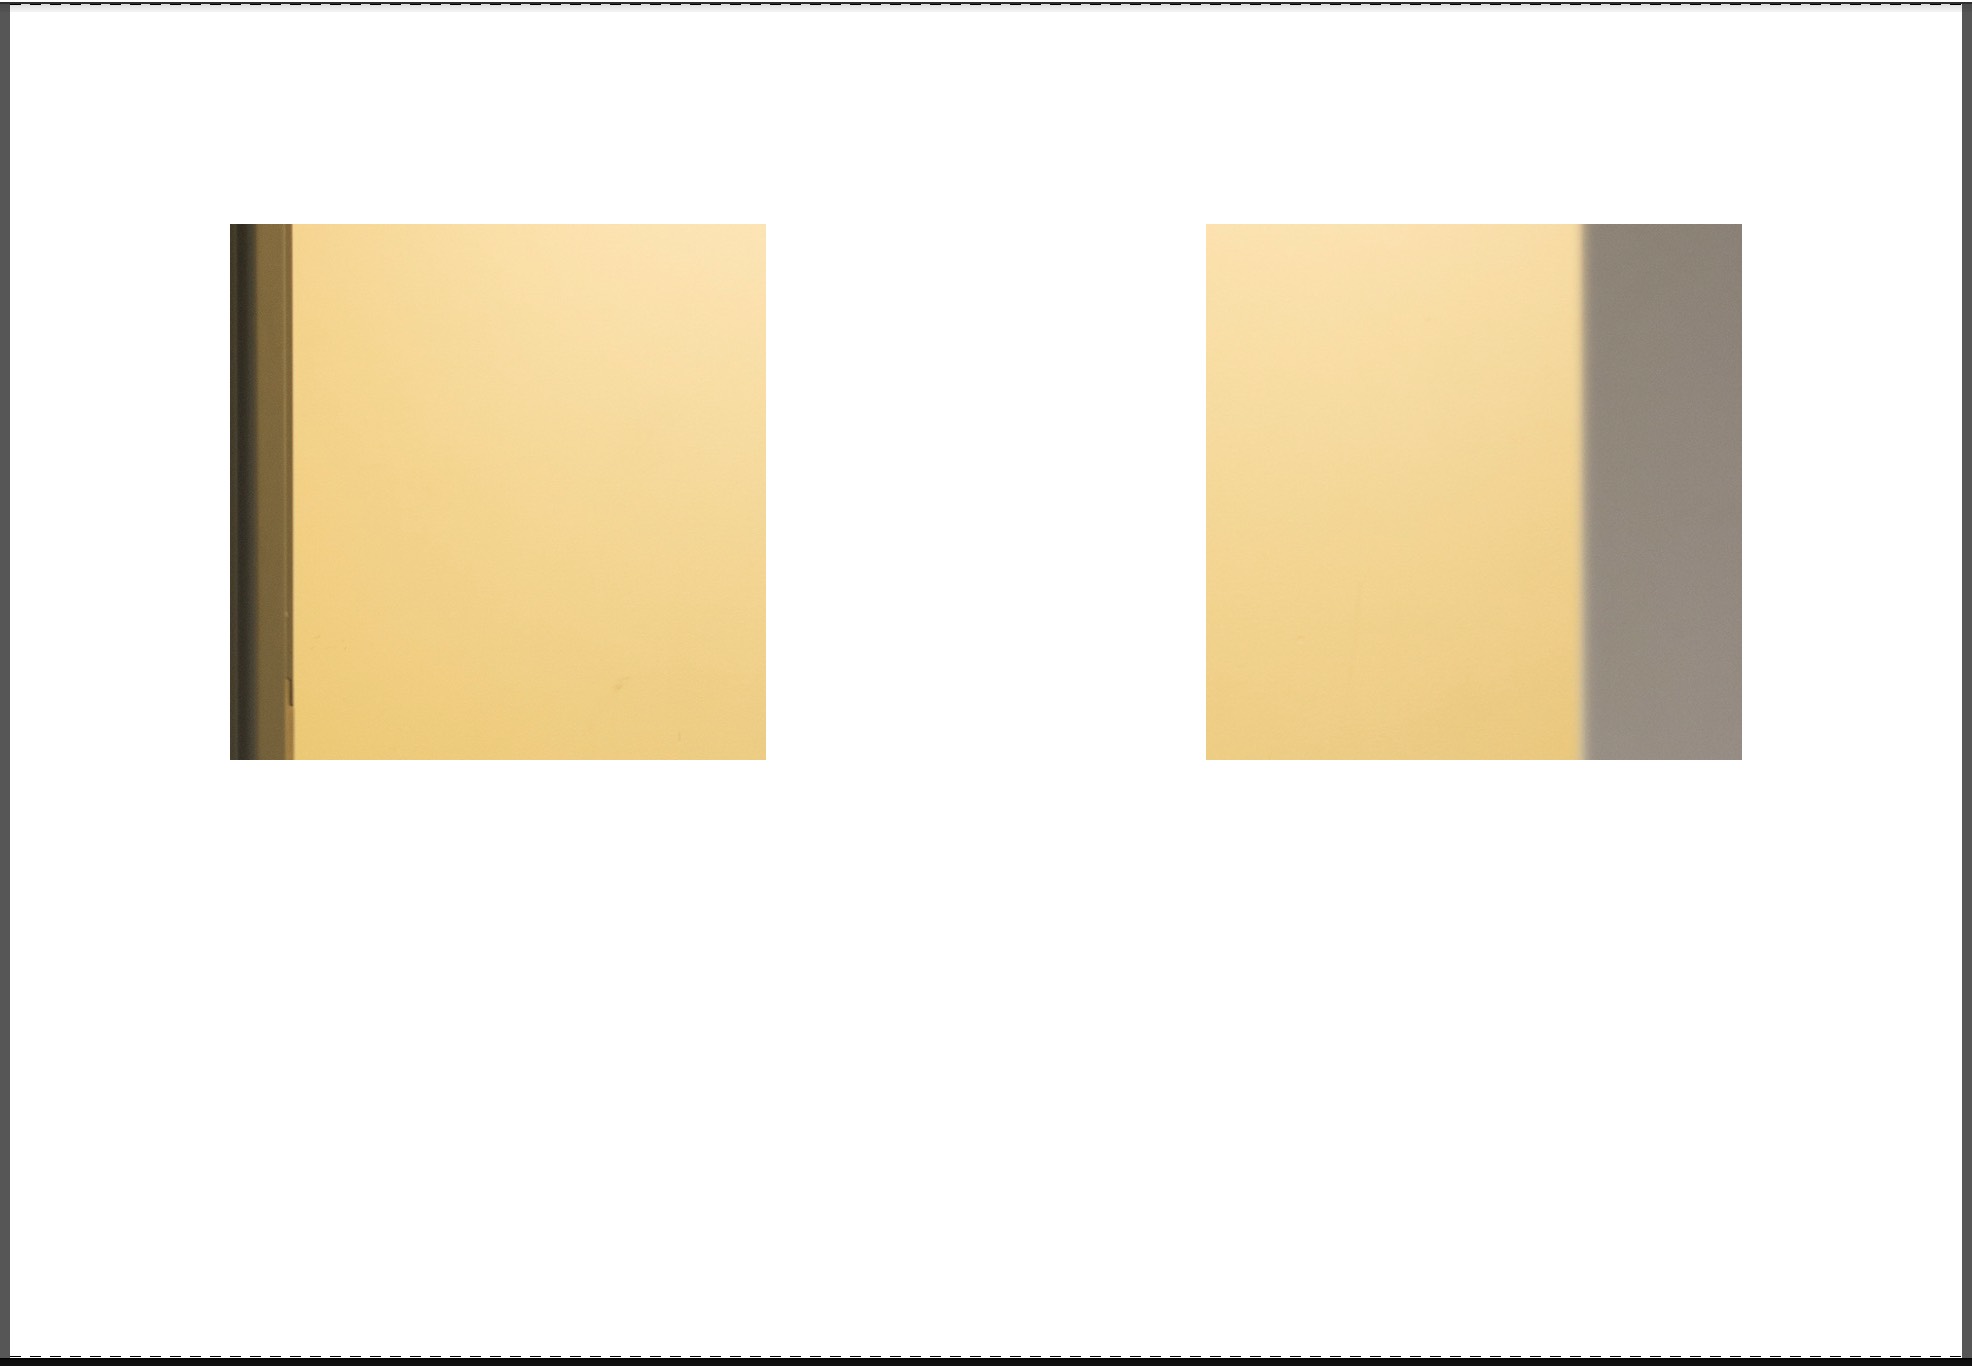
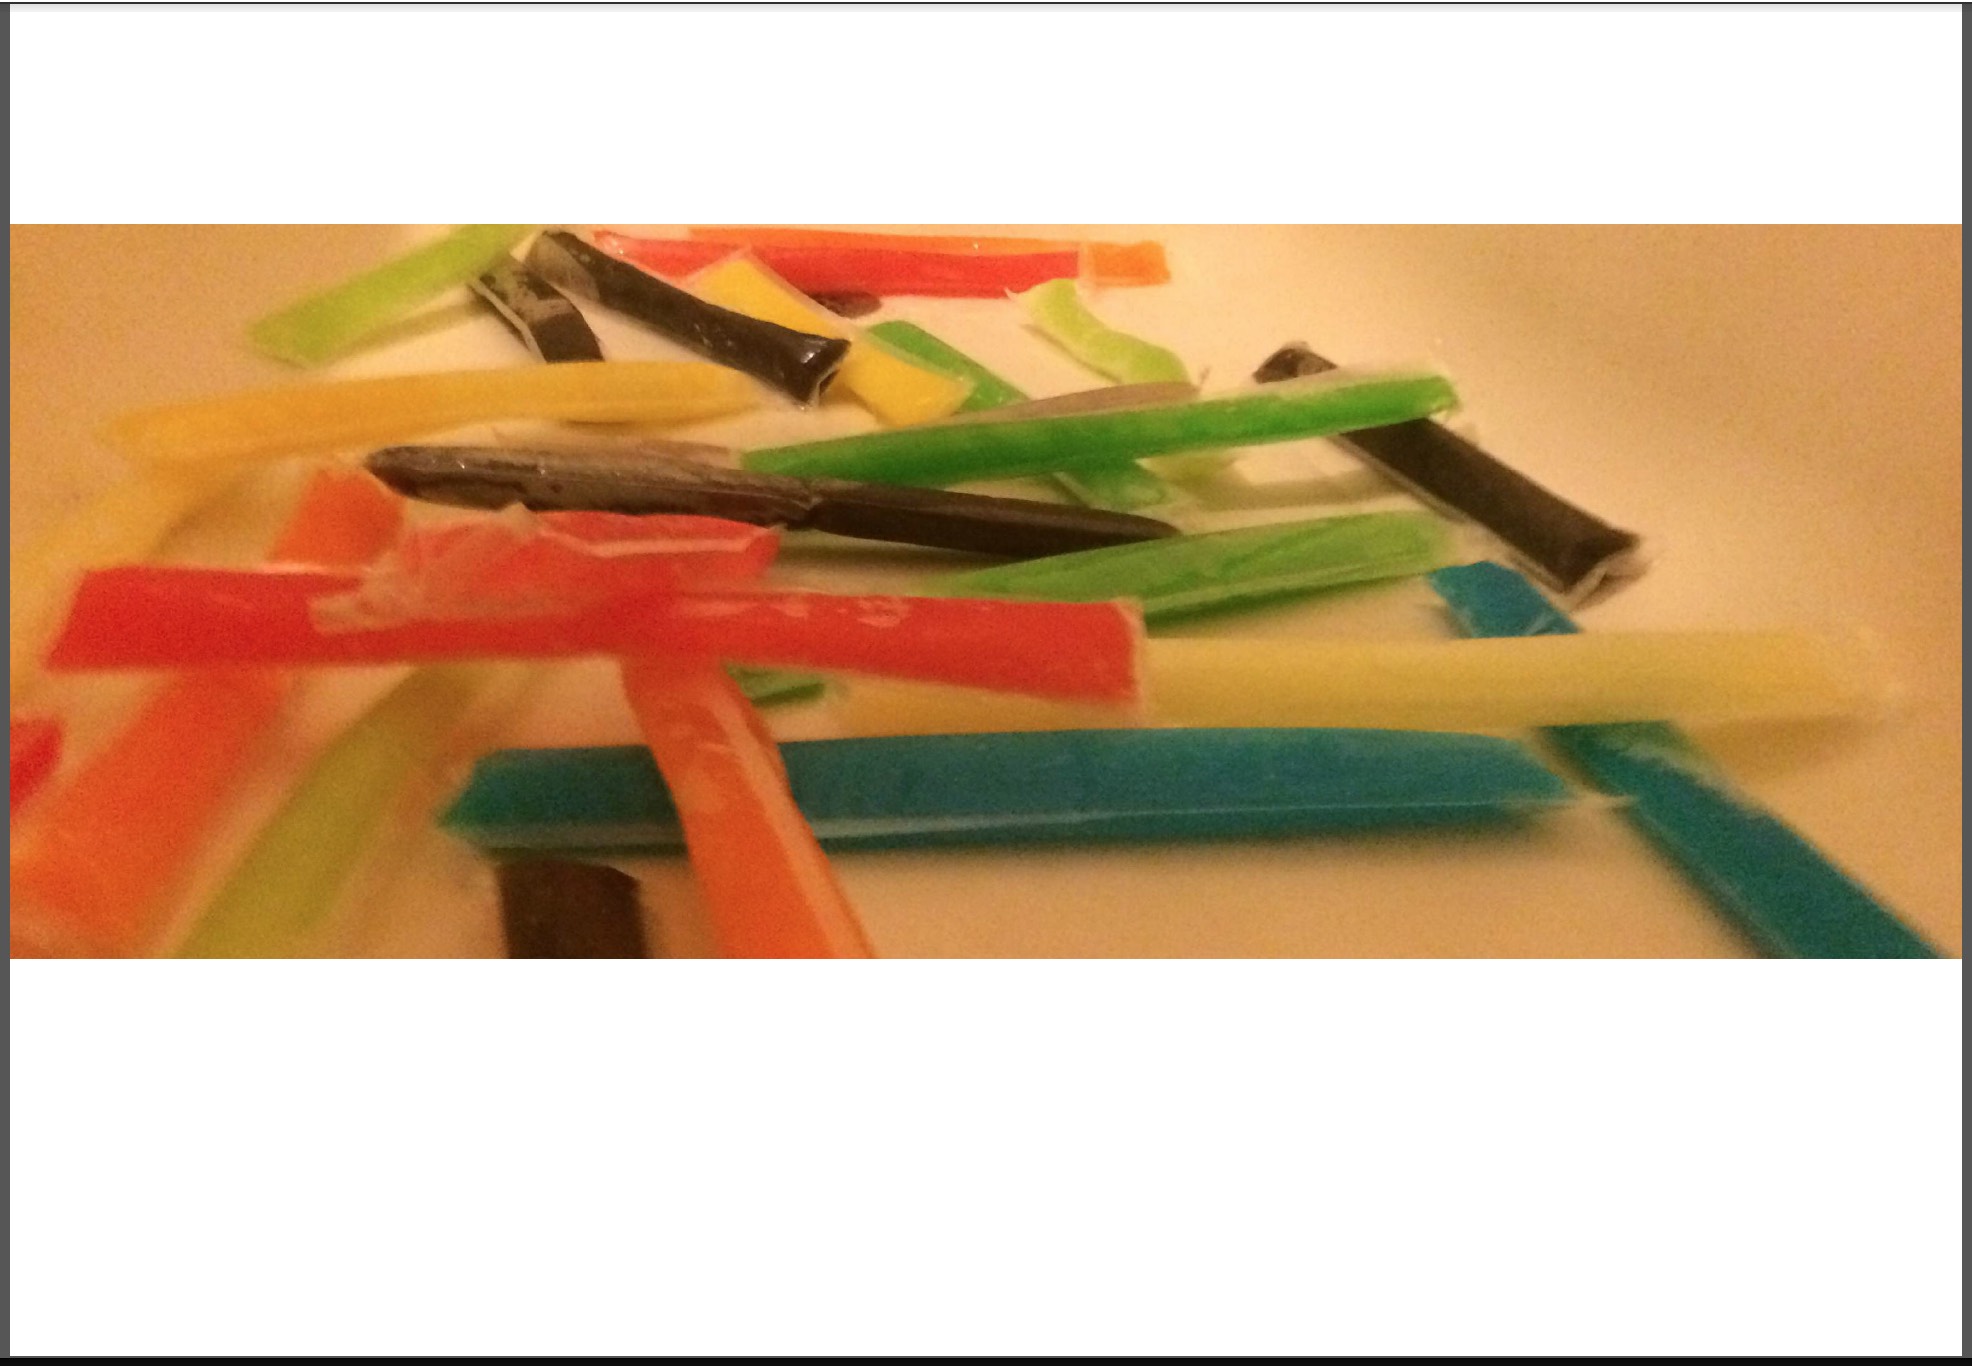
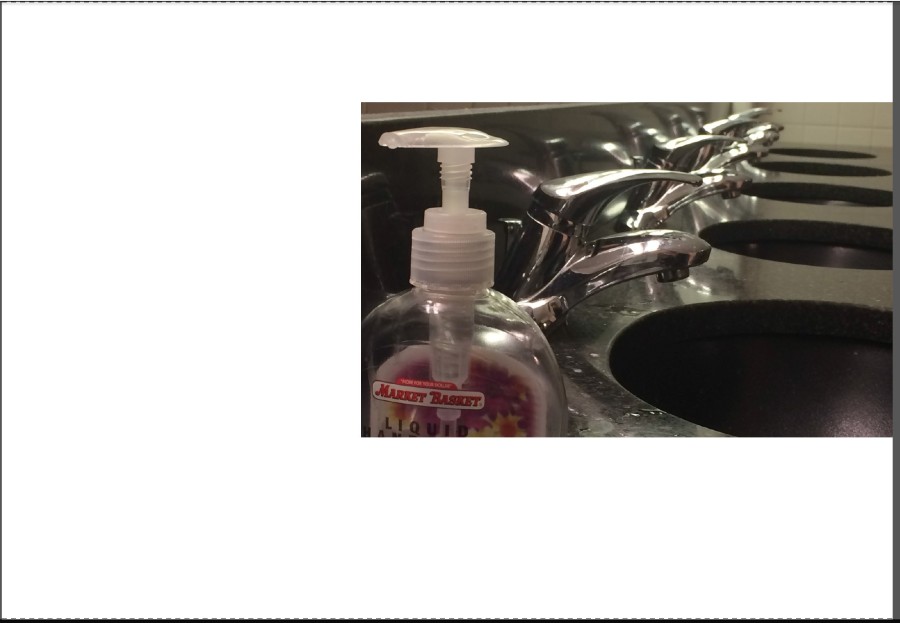
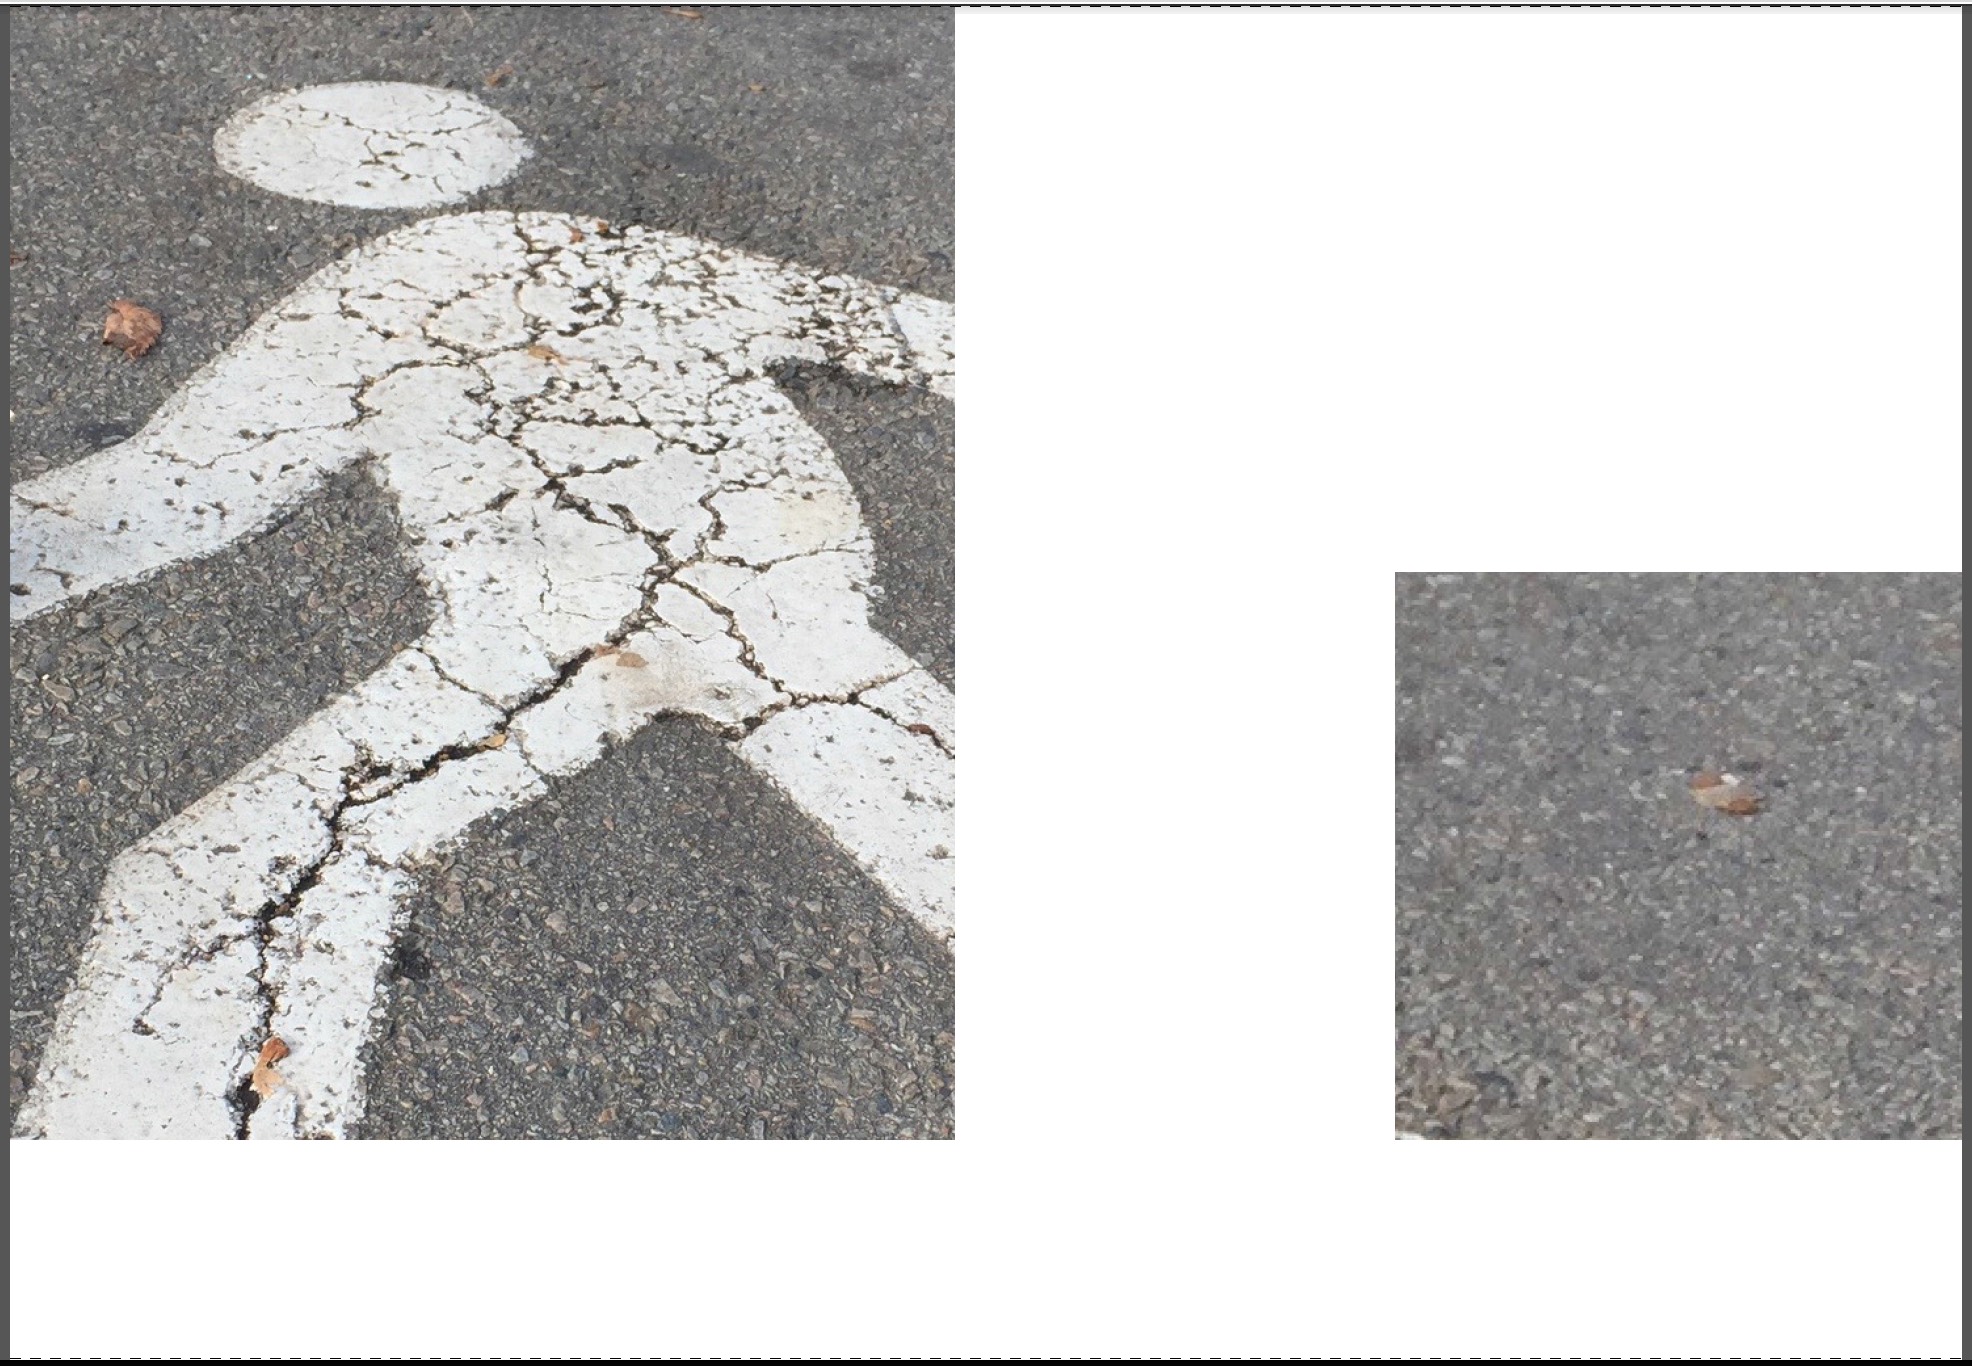
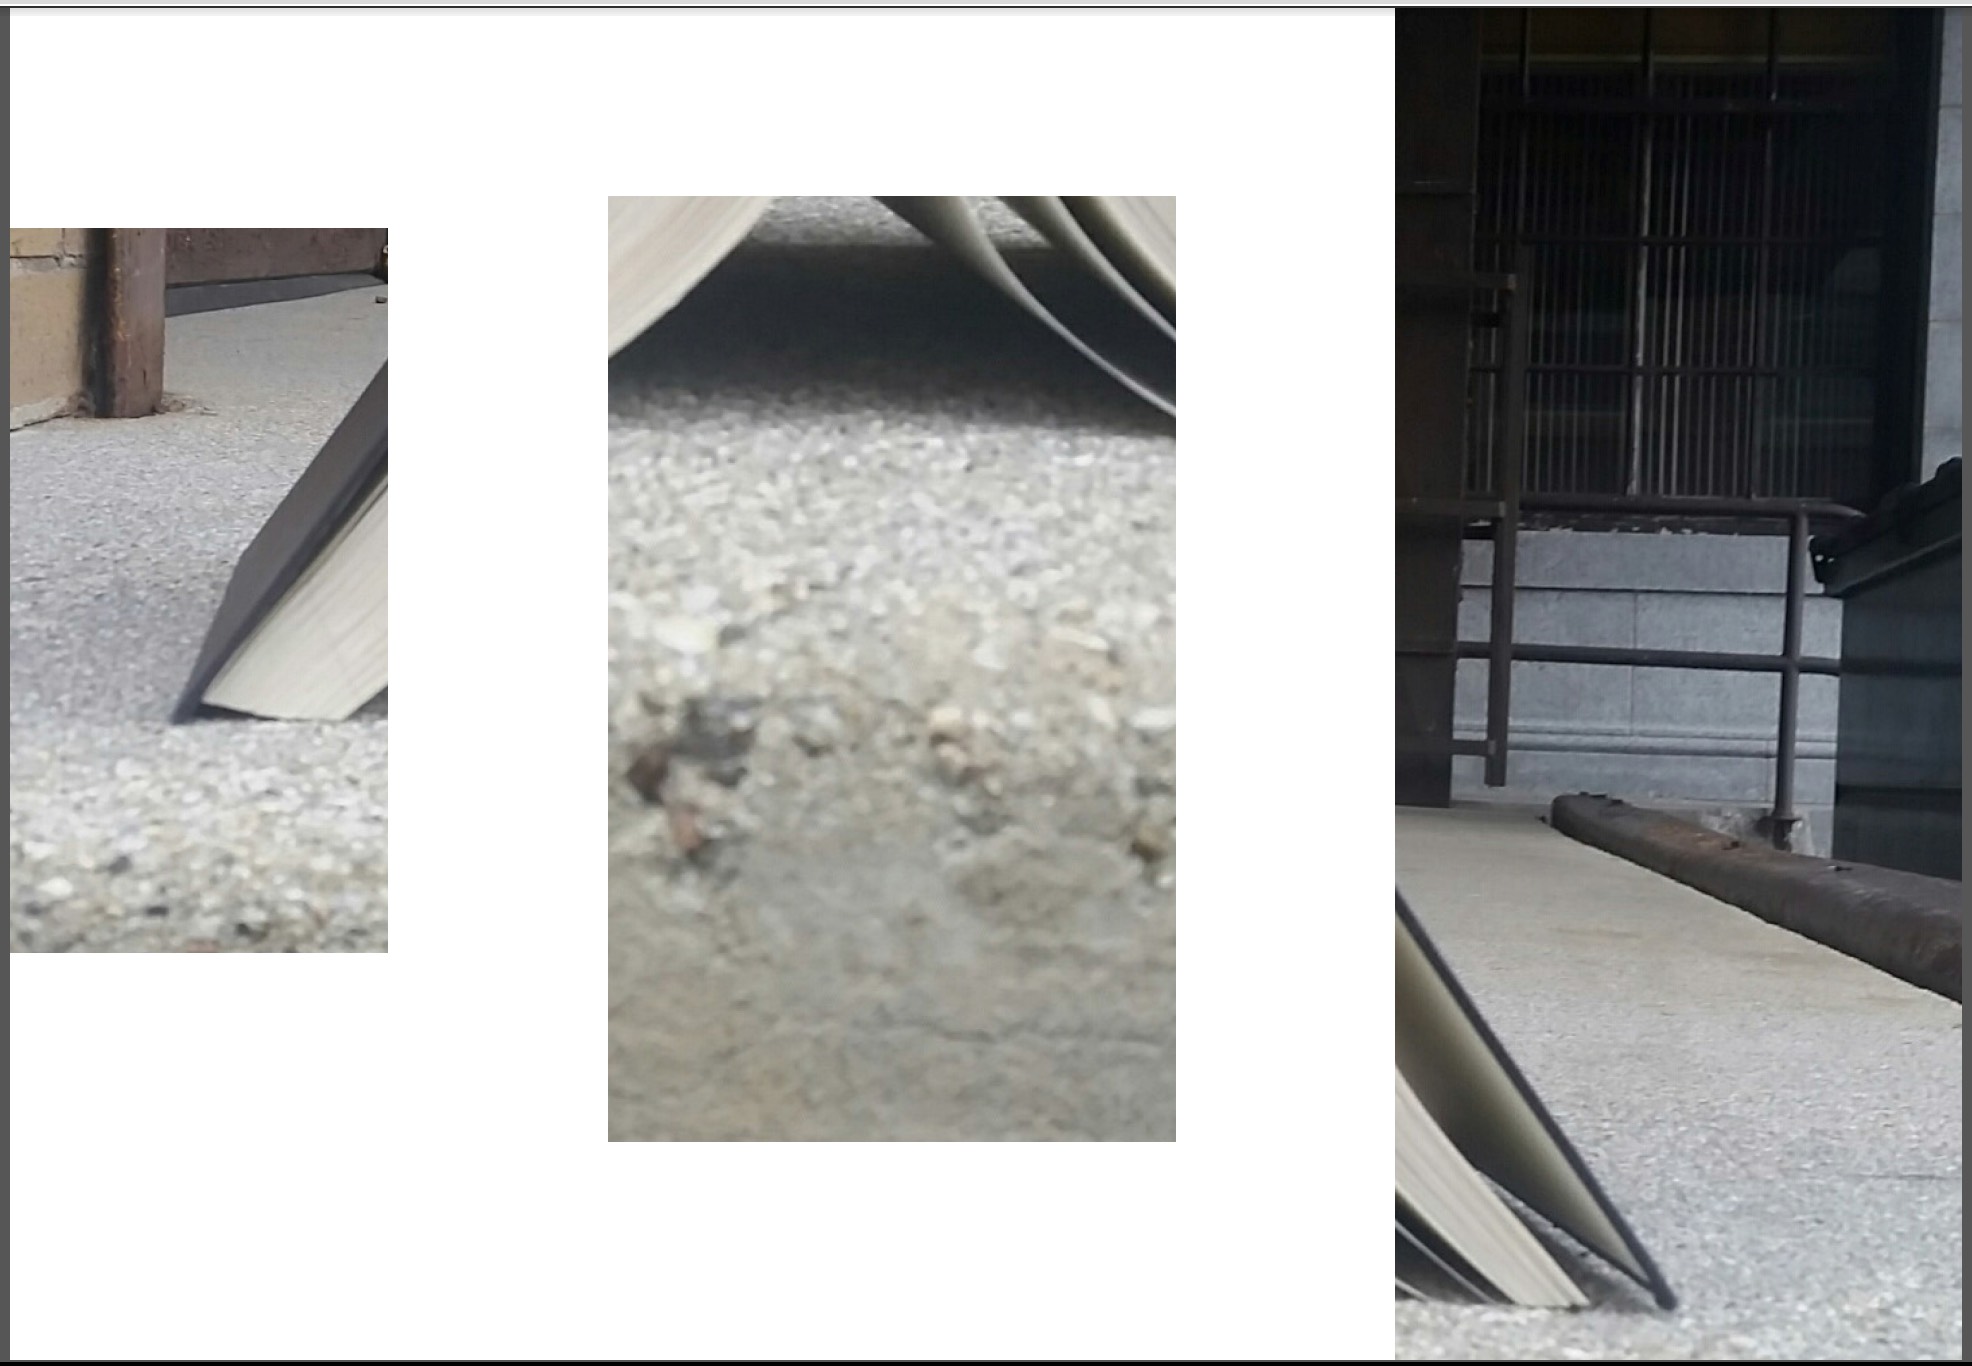
It means that using a limited palette of three images of the same subject you will create an artful and invigorating sequential experience.
Images
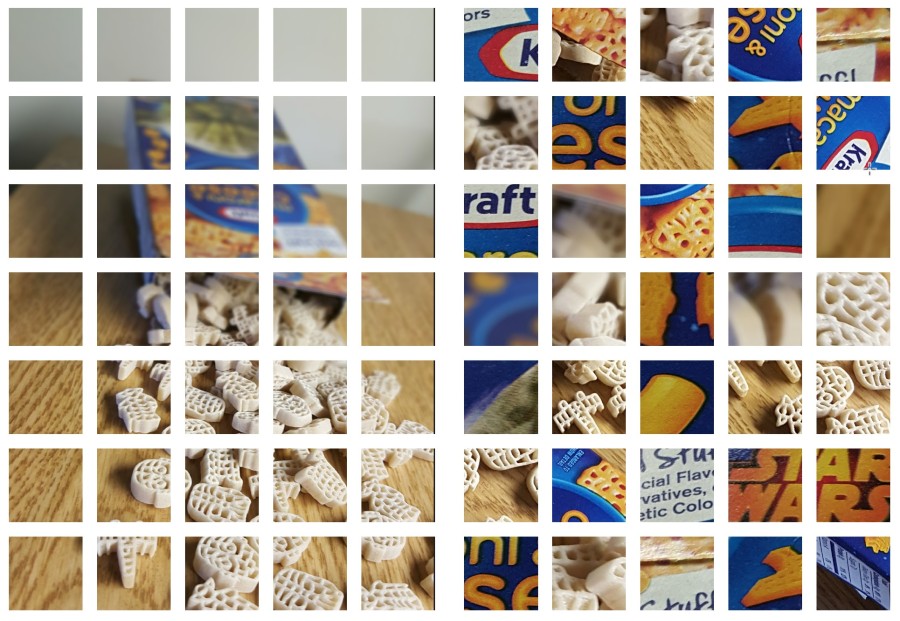
You will use your own humble photographs and insert them into a supplied grid. The images may be scaled larger and smaller, flipped, and rotated. Use all of the image including the background to tell a ‘story’ with the images.
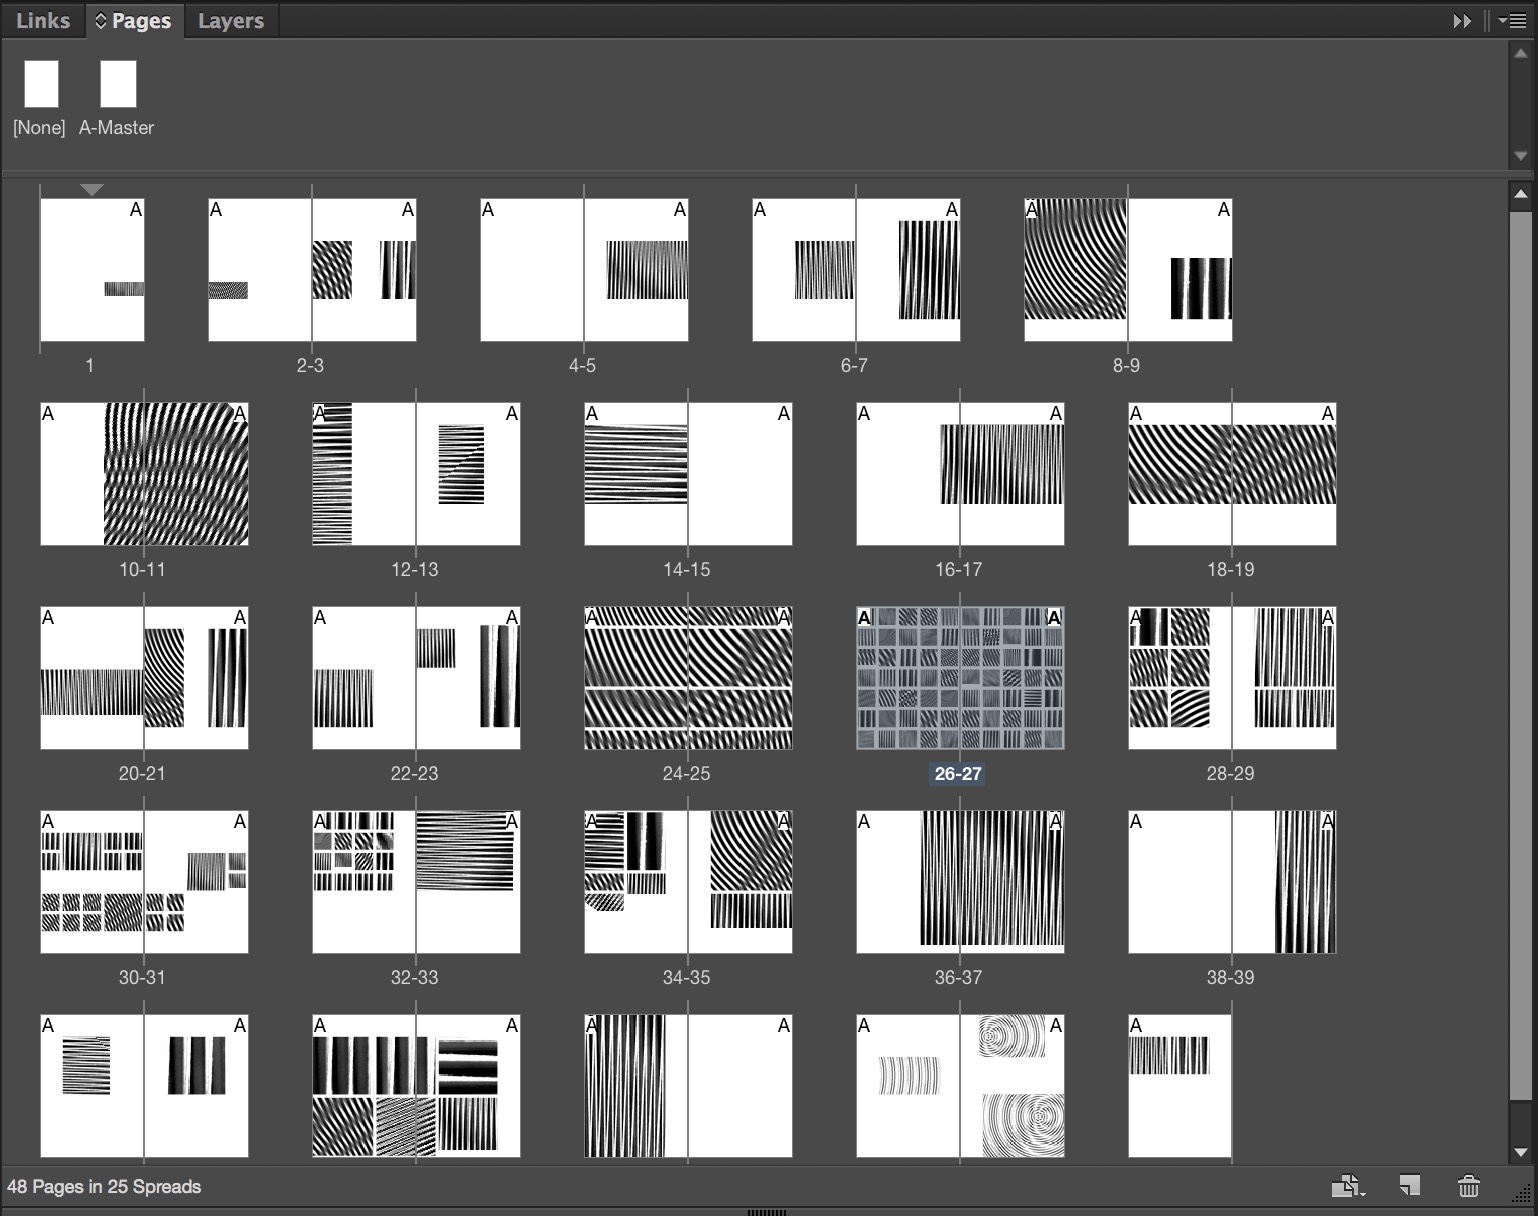
Making the Book
Make the book using the supplied template and three images repeated throughout in the different sized panes.
Layouts and Pages
Keeping the book to 48 pages, change the structure of the image frames to make new layouts. You must change/create at least 4 layouts. As the book will be saddle-stapled, the page count must be divisible by 4 so keep the book at 48 pages.
Define the Structure First
Do the structural changes first. Once you have the layout structure and pages arranged as you want then you edit the images to create different versions of the document.
Change
Feel free to change the primary images you use. It is never too late to make the change that is the difference between good and great.
No matter how far you go down a wrong road, turn back.
—Old Turkish Proverb
Editing the Images
Edit the three images your book. Open the images and same them as new names in the images folder. Save them as .PSDs. Save new versions of these images and use adjustment layers to change the images “non-destructively” in the following ways:
- Enhanced Image: Keep the image more or less the same but adjust the contrast, color tone, etc.
- Black and White: Use the Black and White adjustment layer to make the images grayscale. Tweak the levels as well.
- Color Tinted: Tinte the images to the same single hue using the hue/saturation adjustment layer.
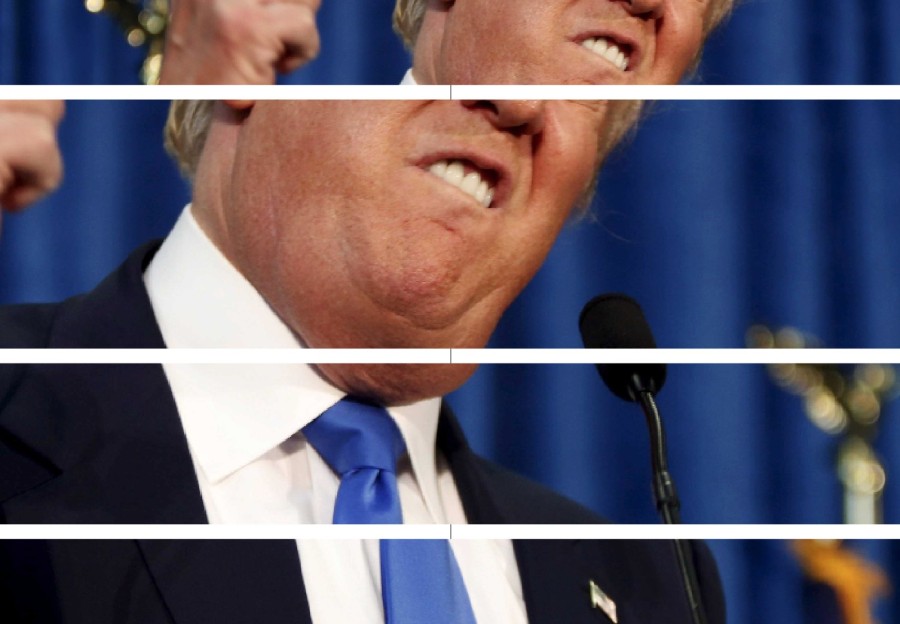
- Find Three images of Anything Online: This should be something historic and iconic. The moon landing. A historic person from the 20th century (Ghandi, Hitler, Any Warhol, etc.). Choose images that are roughly the same pixel size as your originals. If you have 1500px wide images, find 1500px wide web images. Swap out your photographs with these images and see what happens.
You will need versions of the PSD files for each of the above. I recommend using folders for each type of image: color, B&W, tinted, web, etc.
Swap out the Images
Using the links panel swap out the images to create new image sequences. Save the book as a different version for each of the above image types. (hoyt_randall_ bw.indd, hoyt_randall_tinted.indd, etc).
Editing and Creating New Layouts
Tinting Images
Editing Linked Images in InDesign
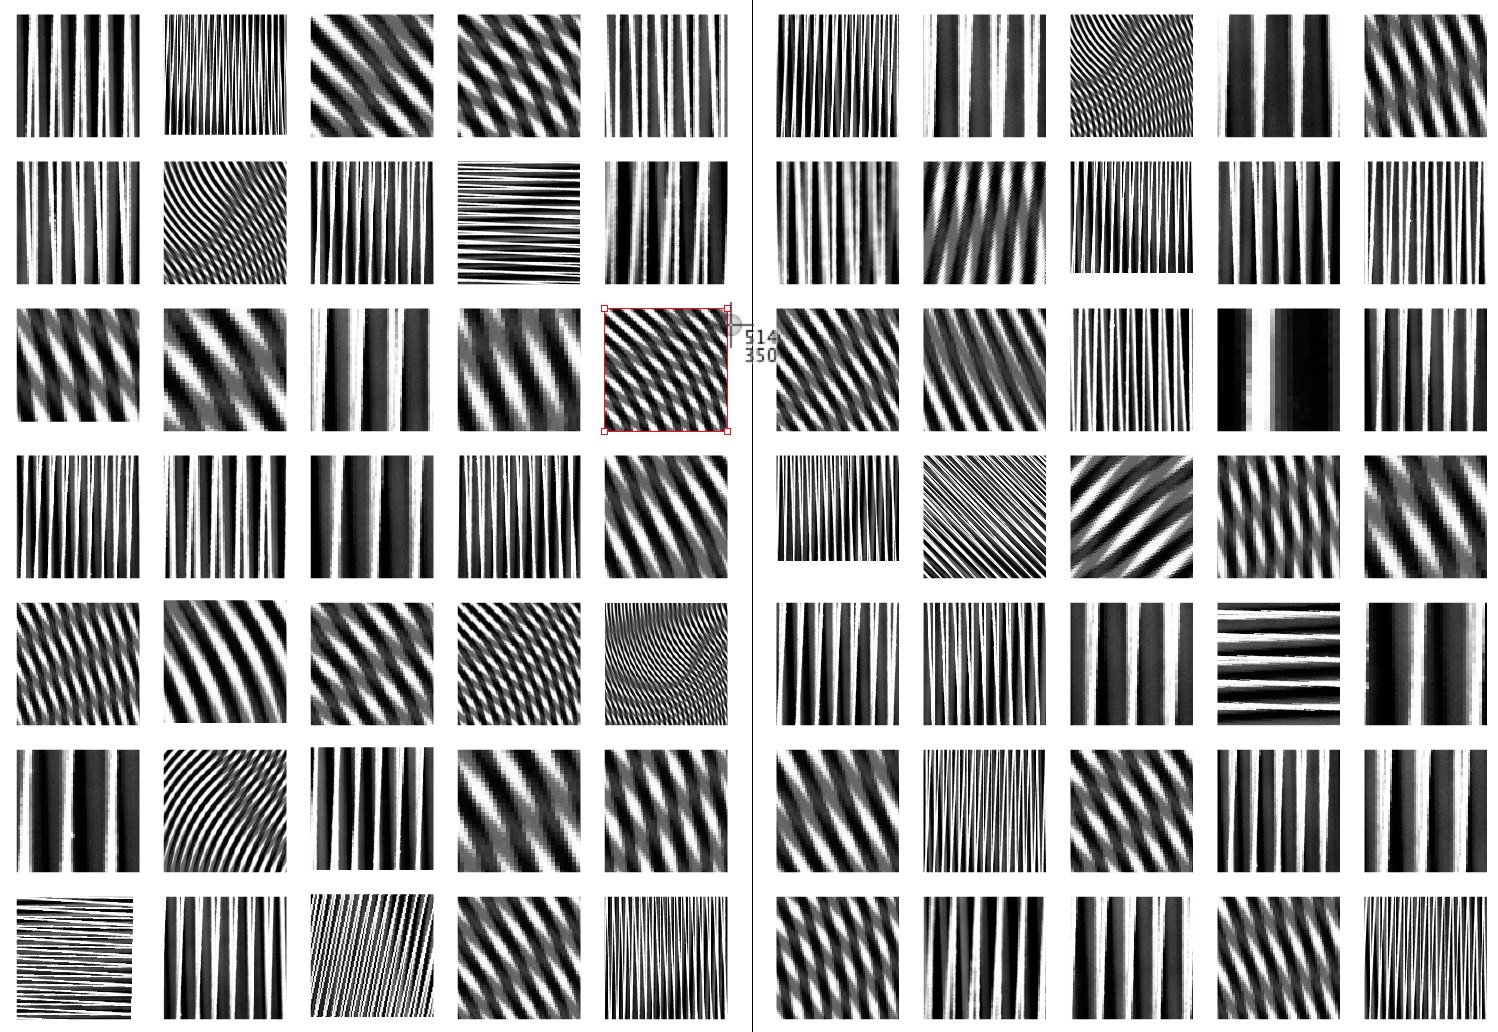
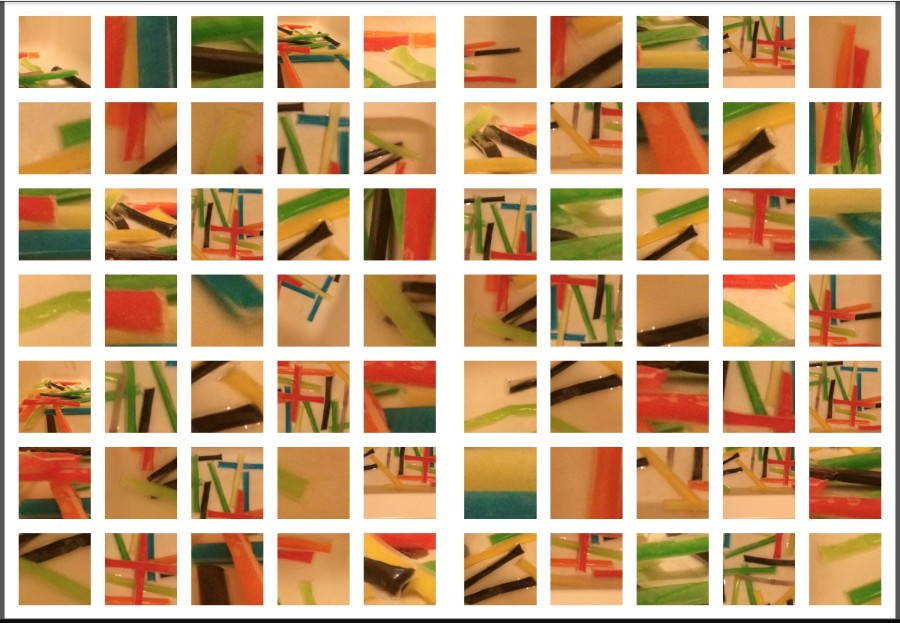
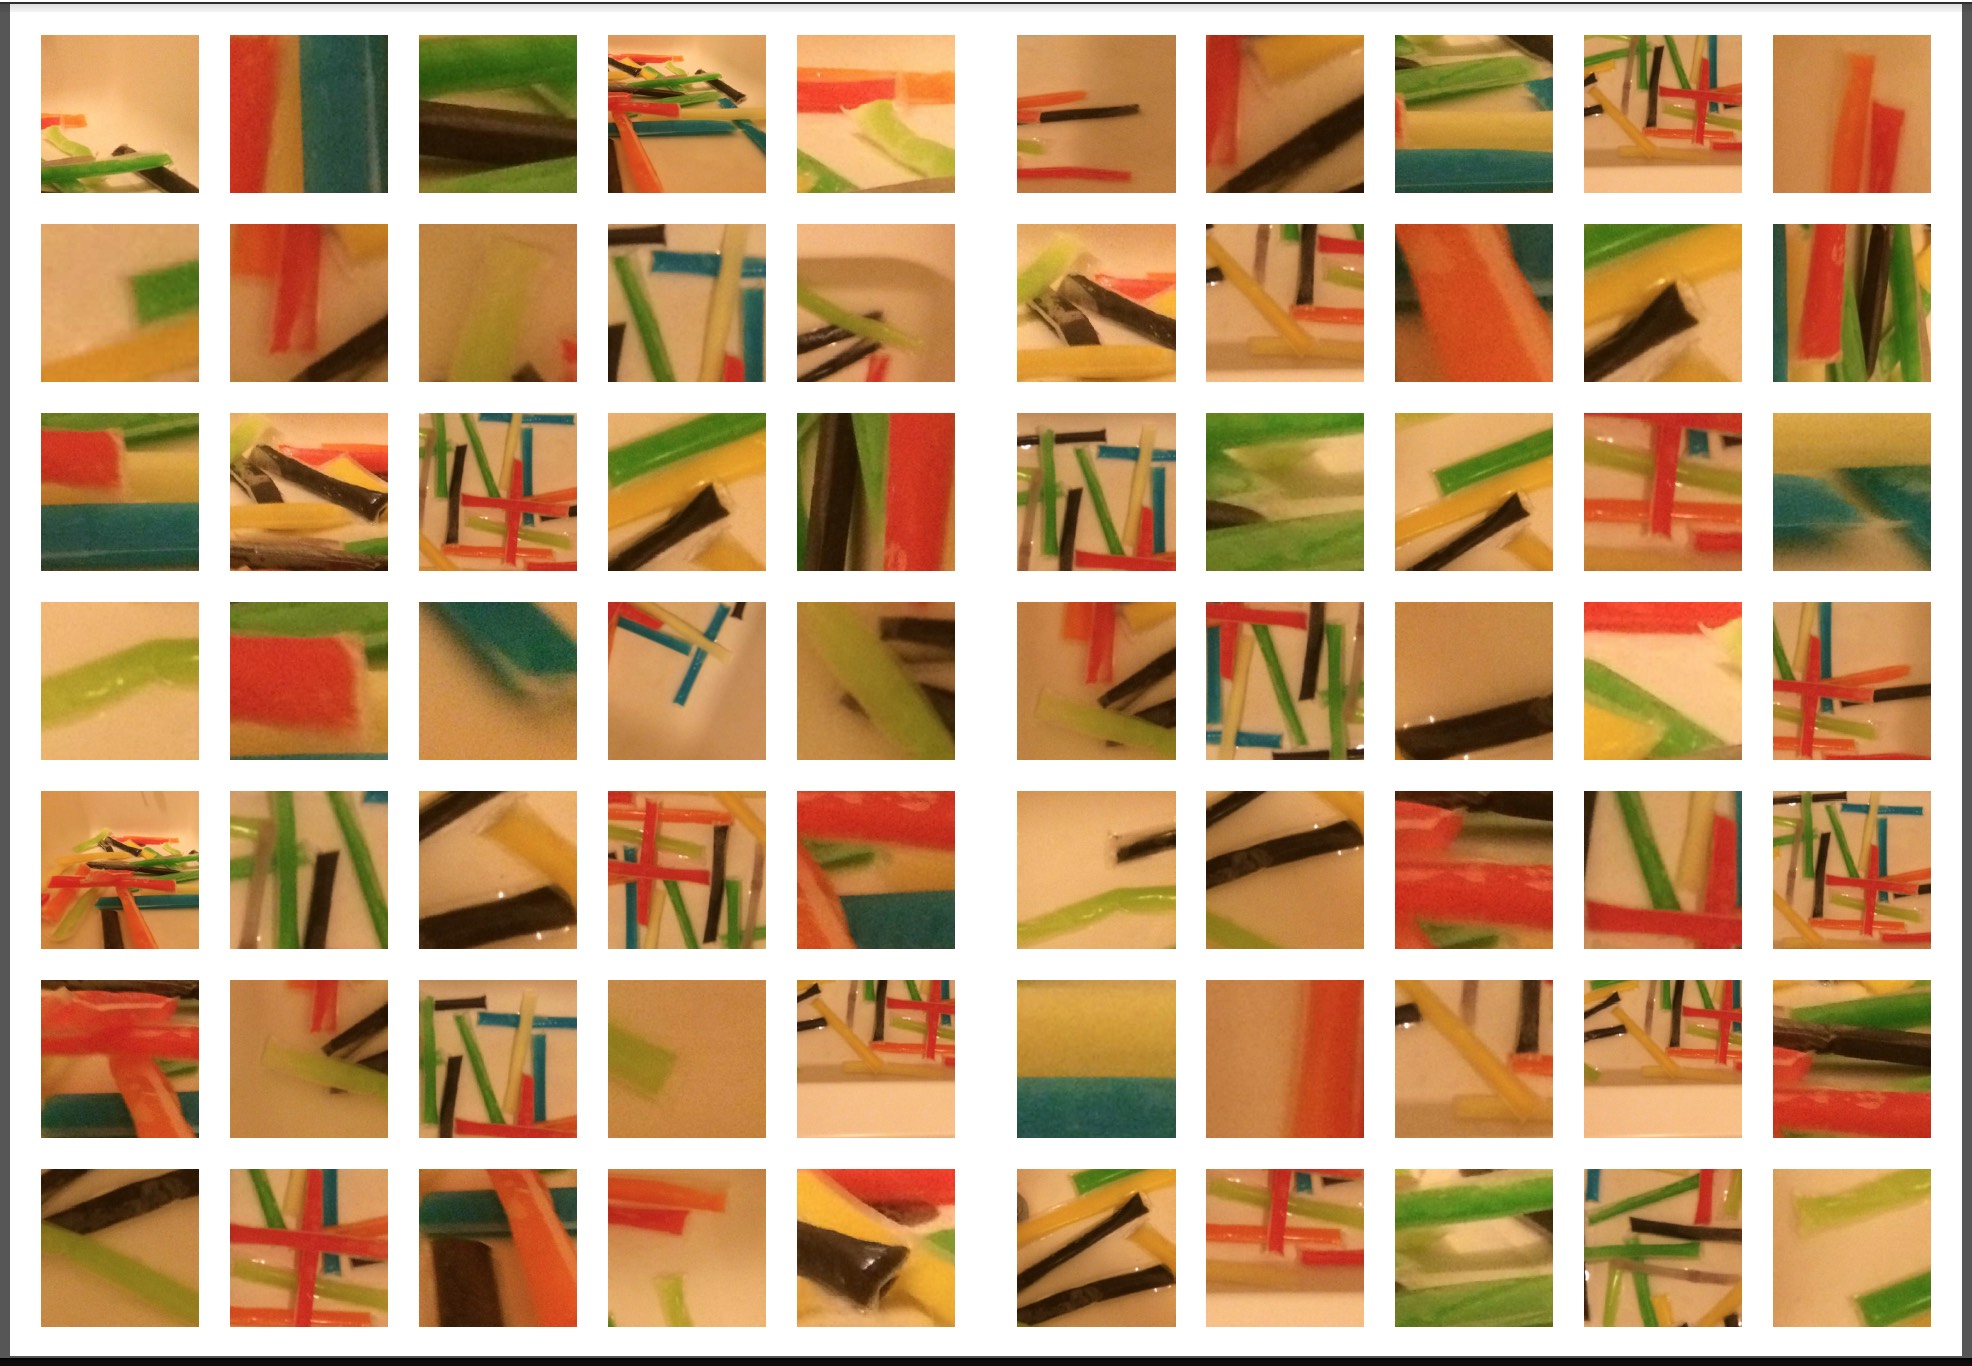
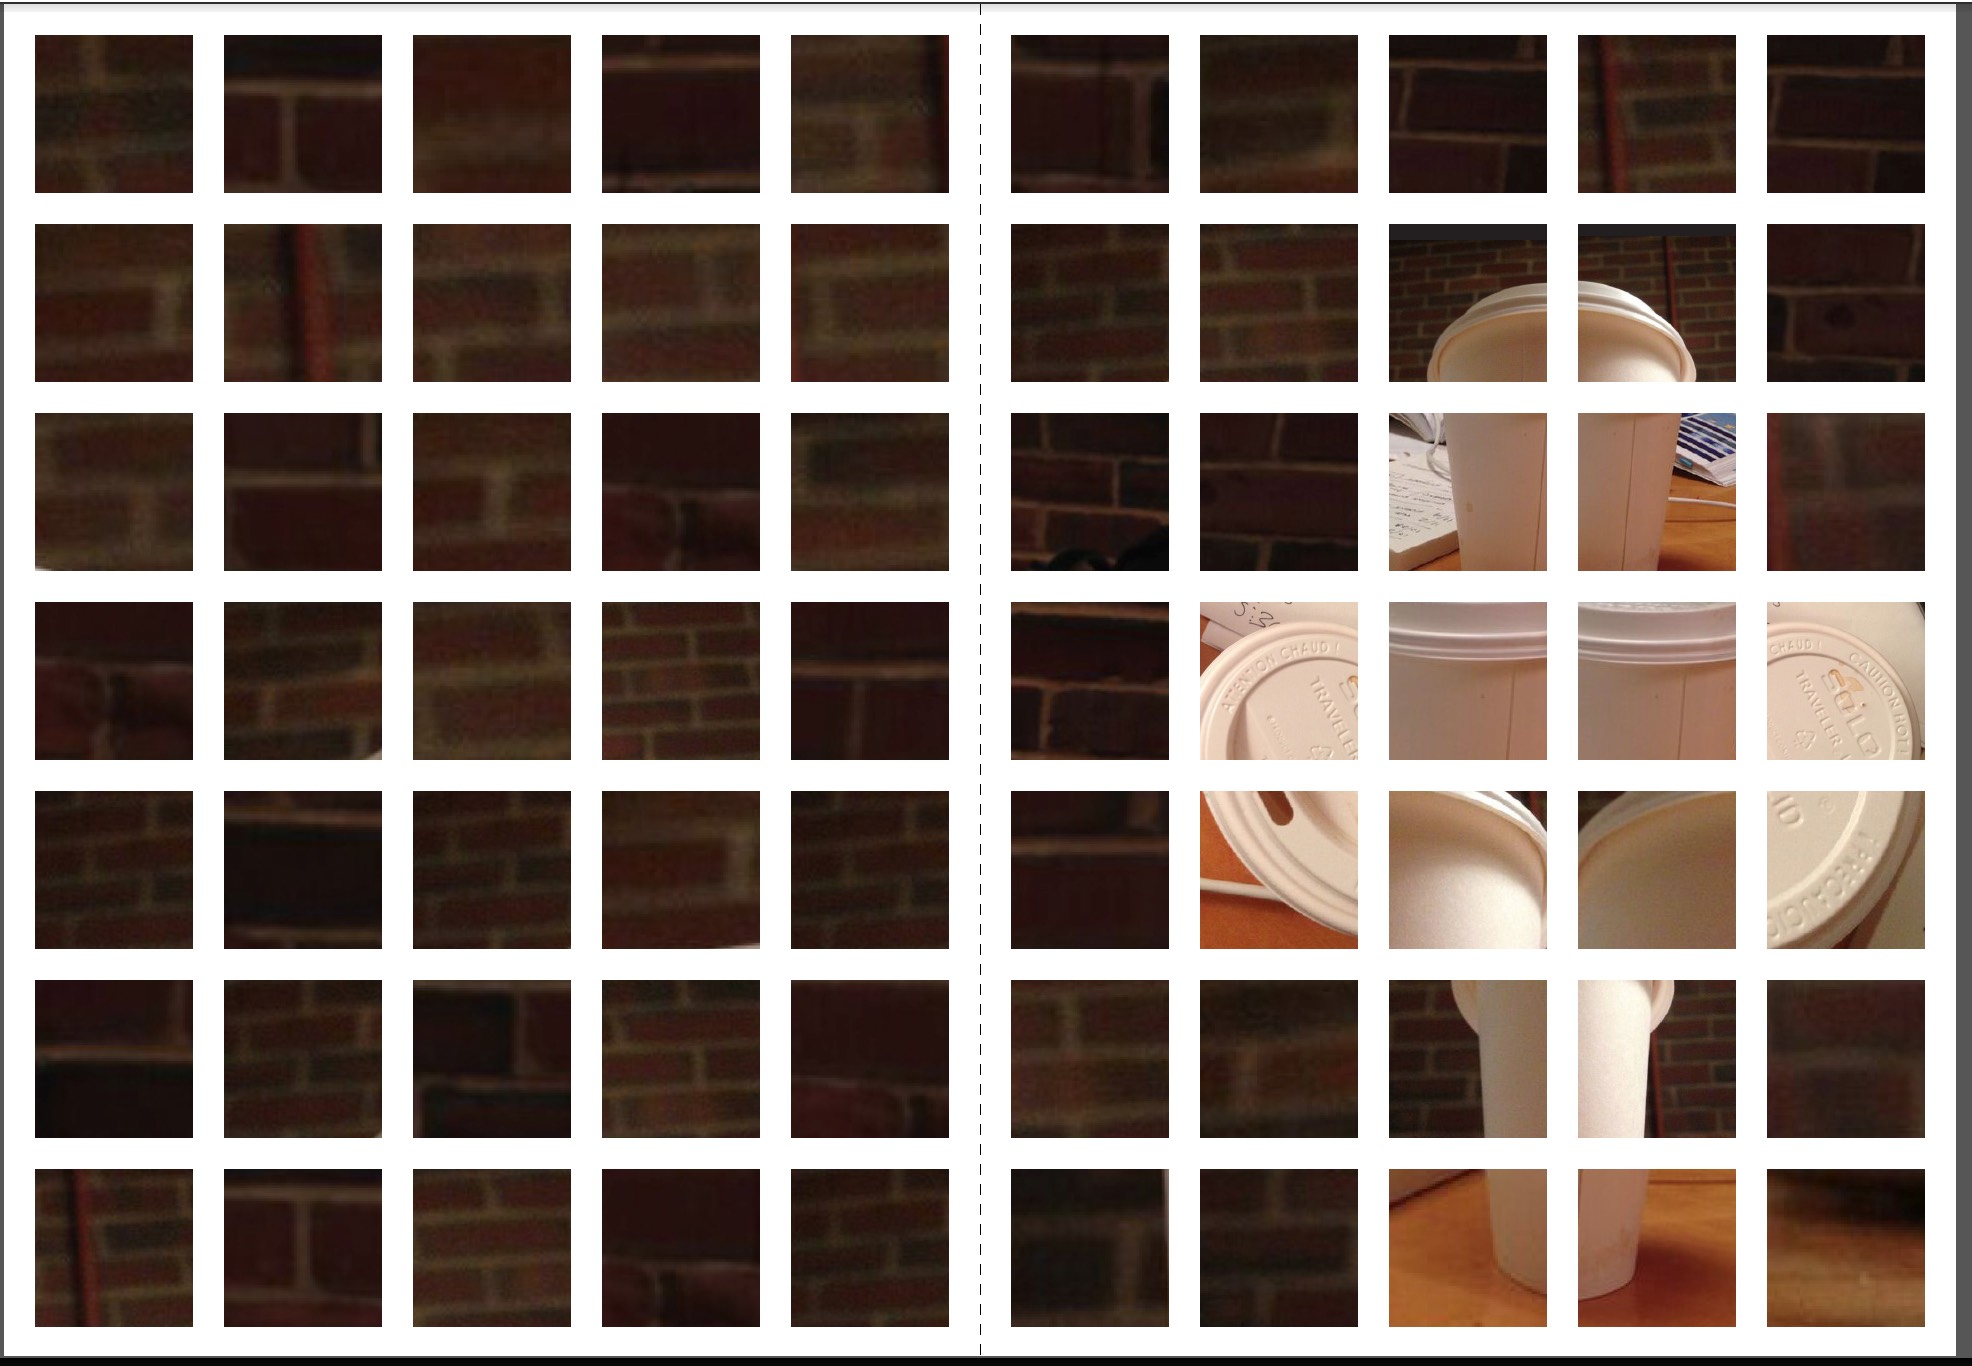
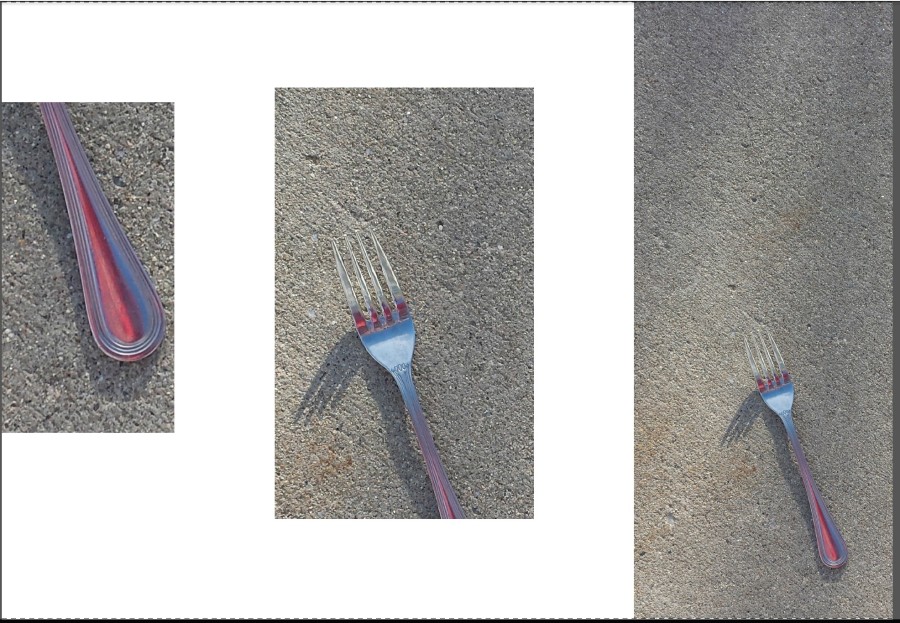
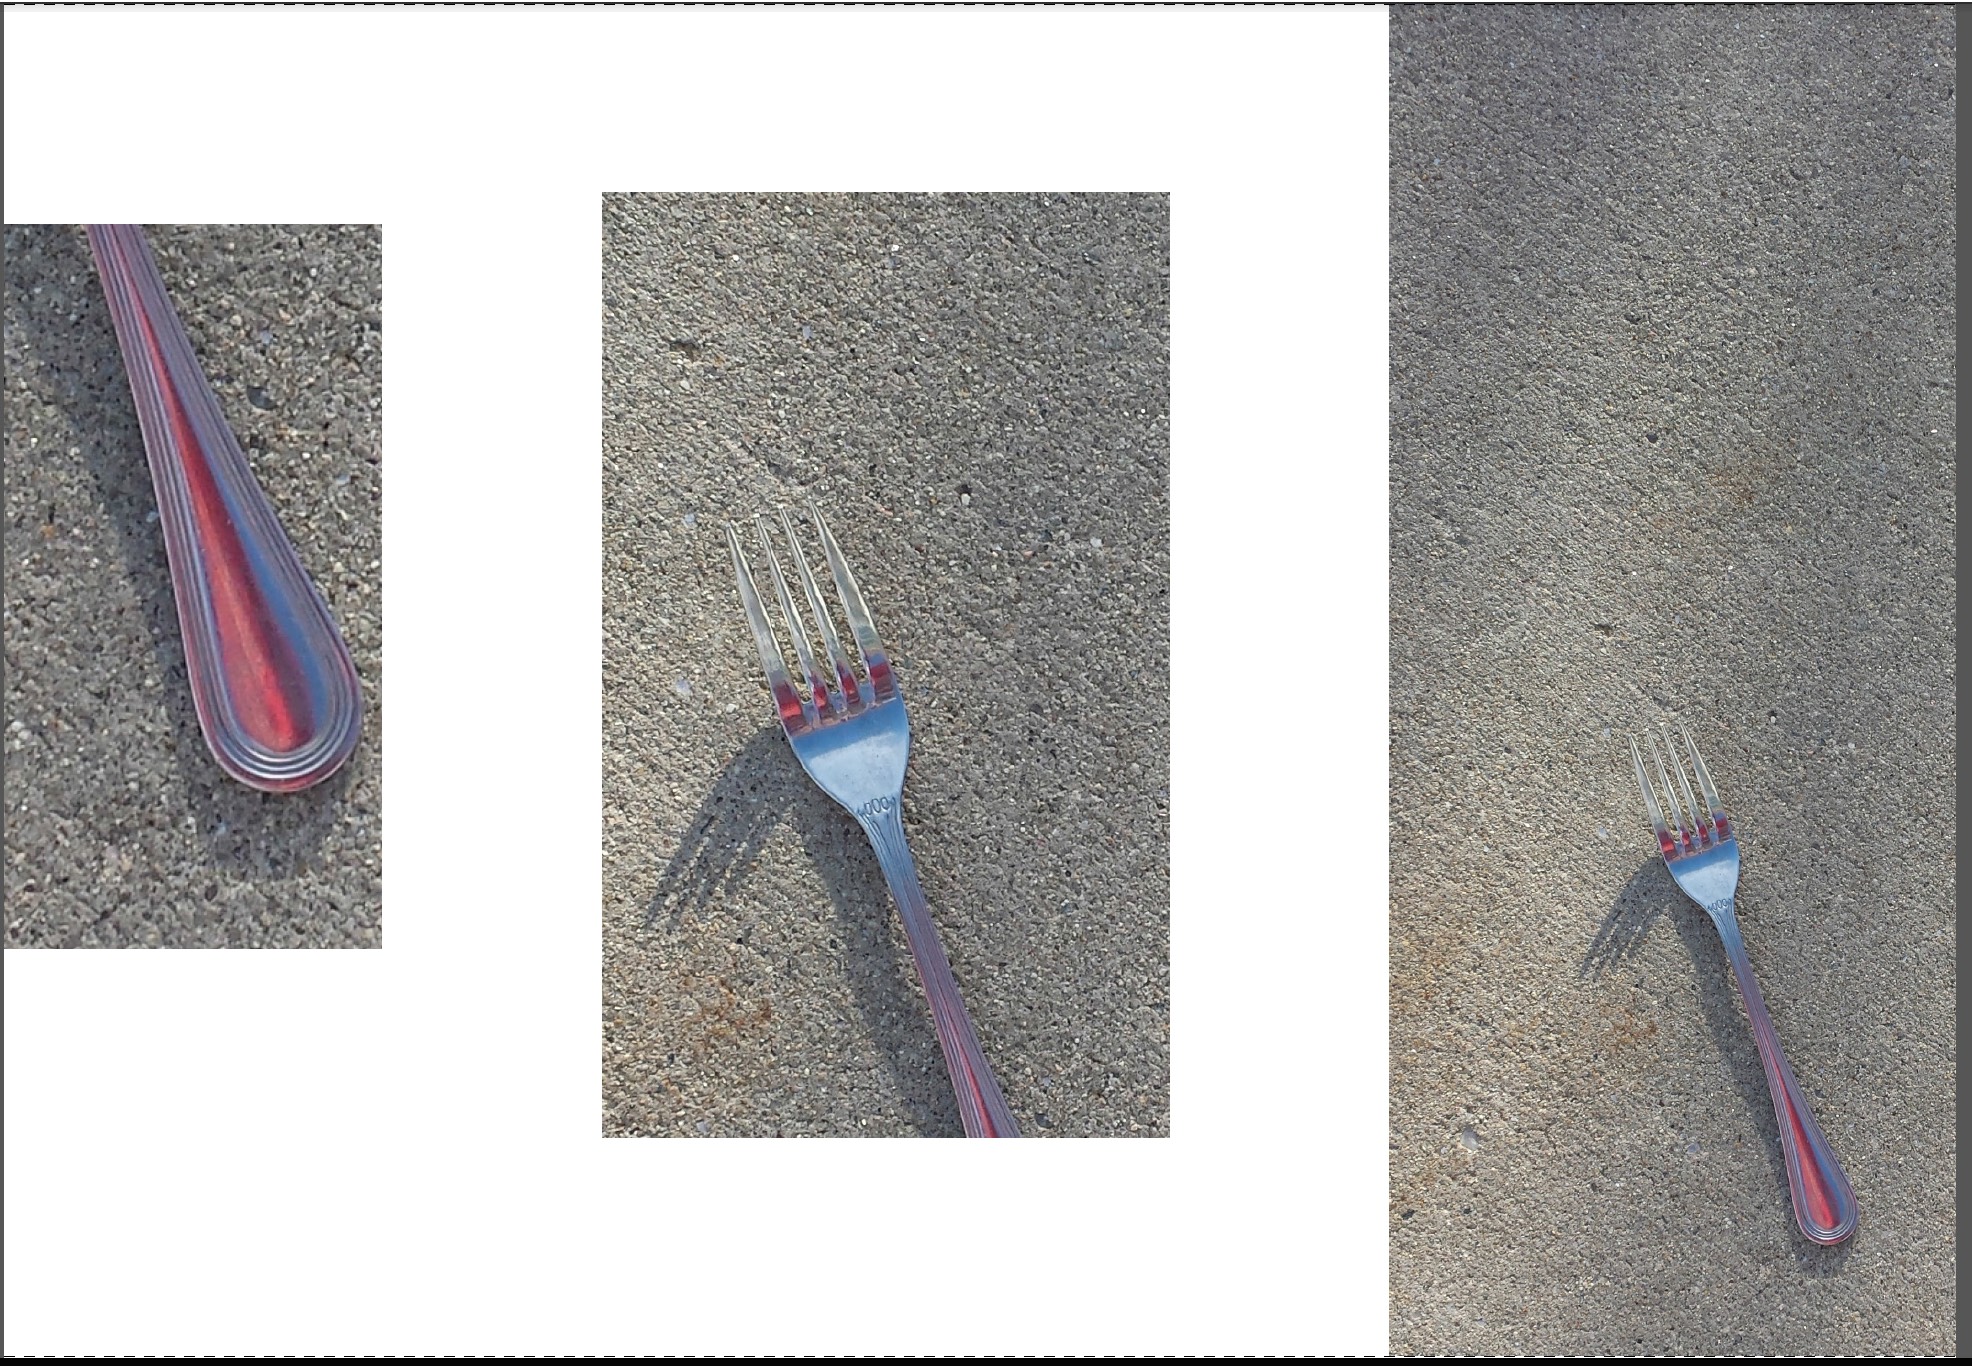
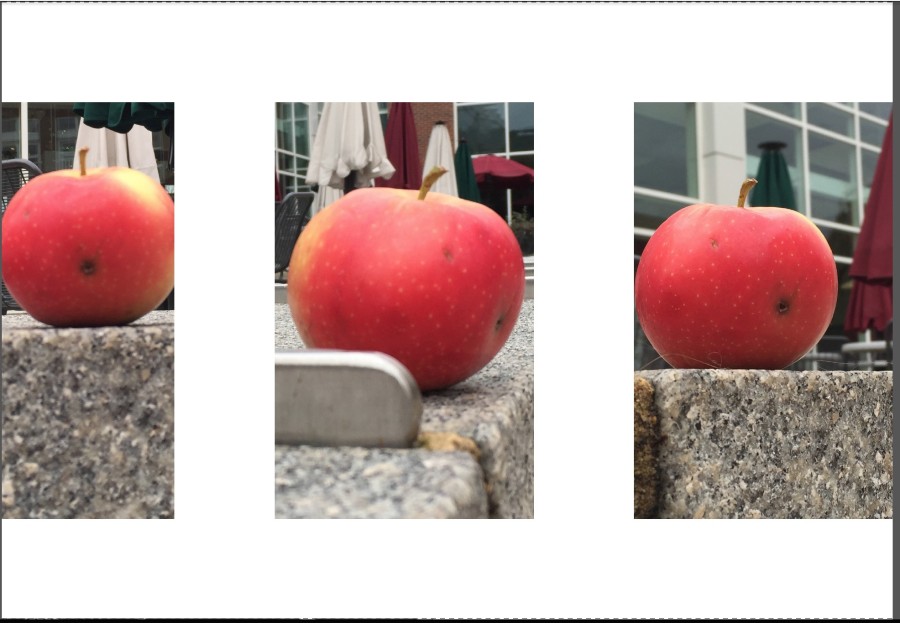
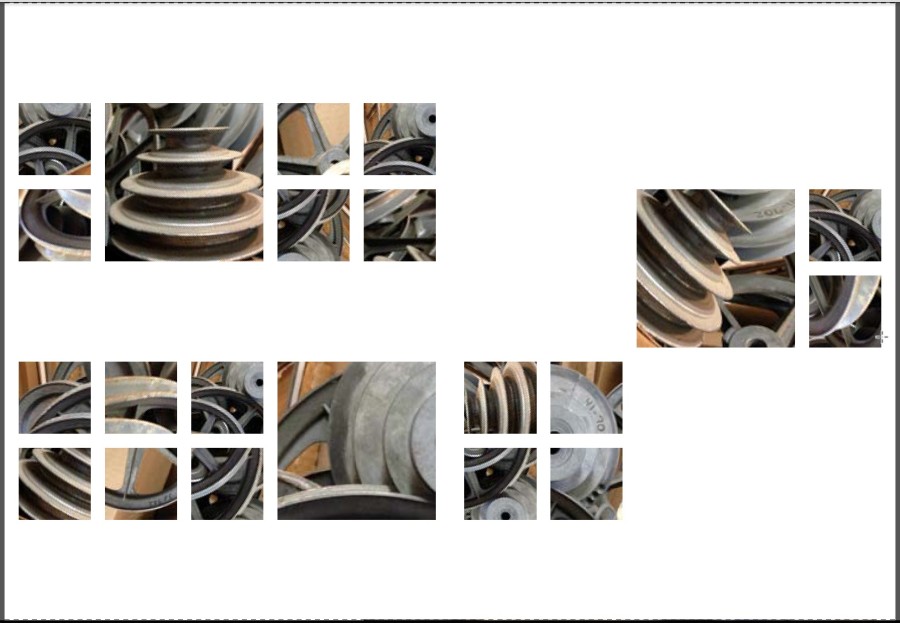
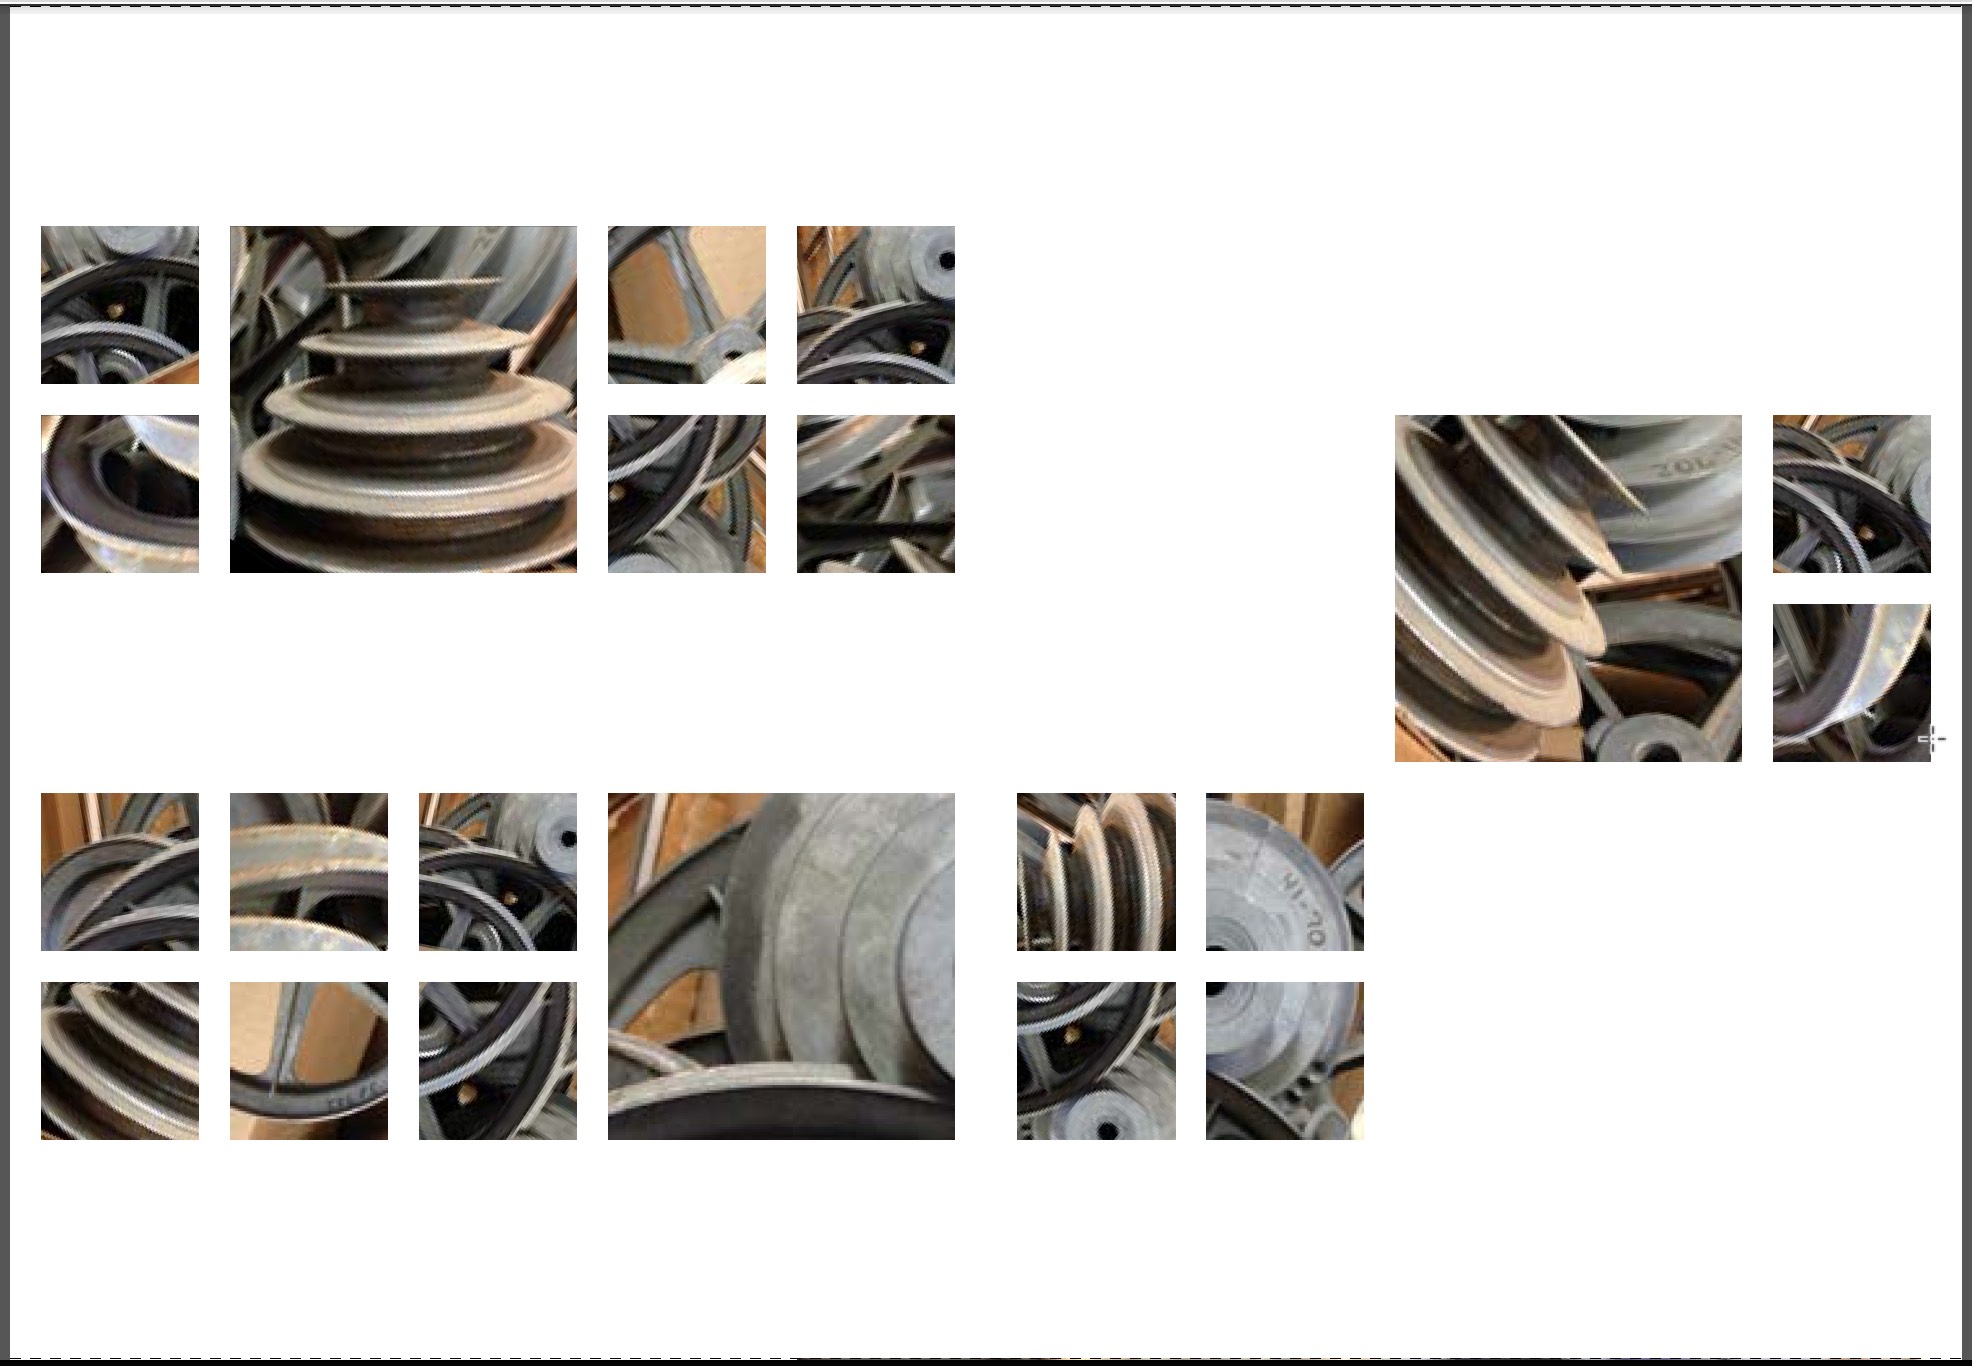
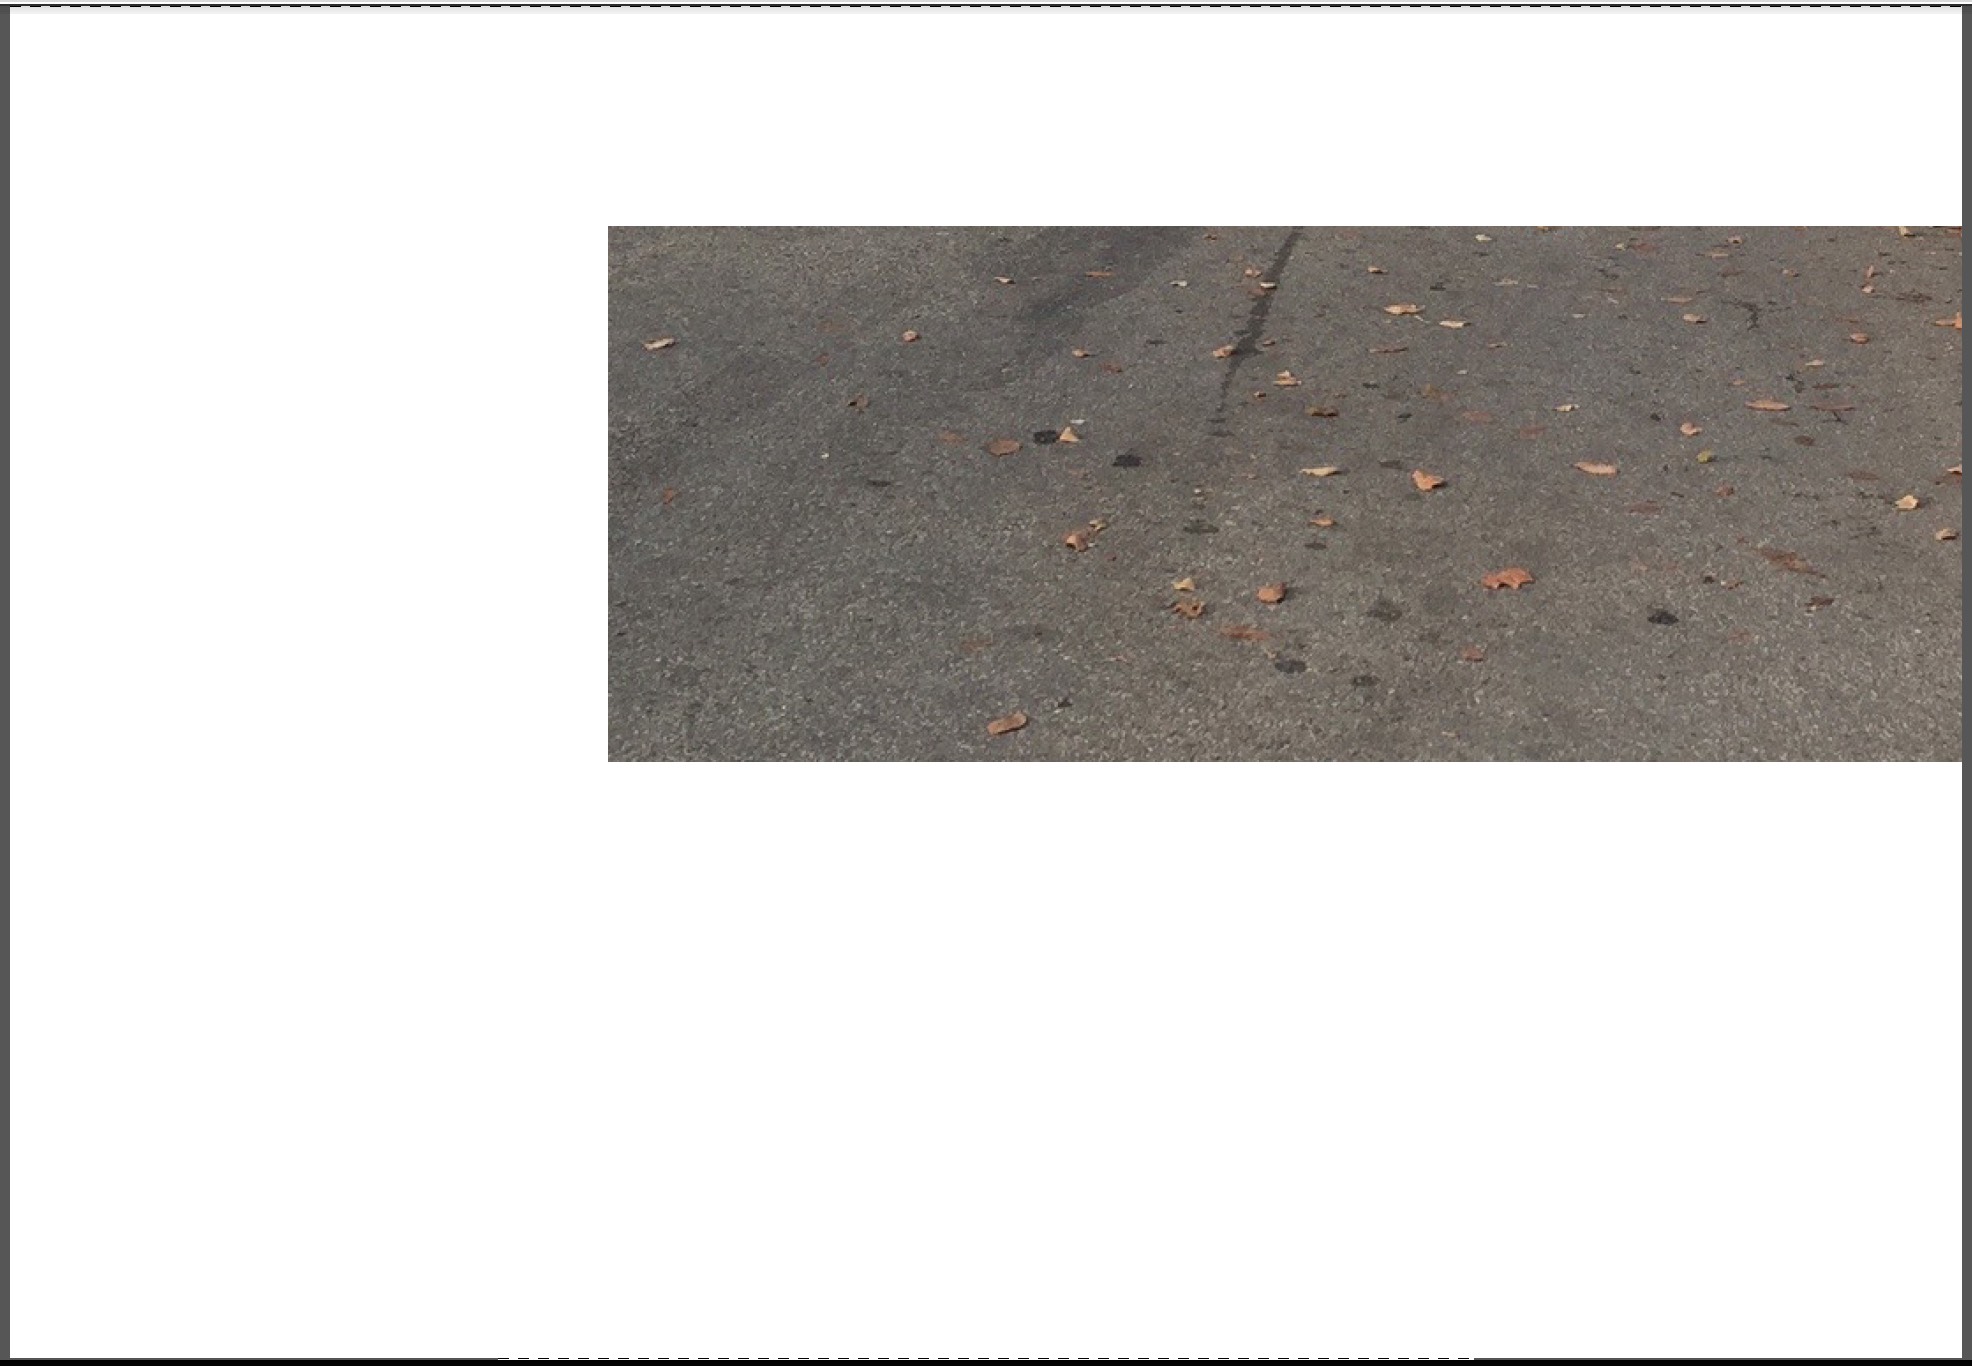
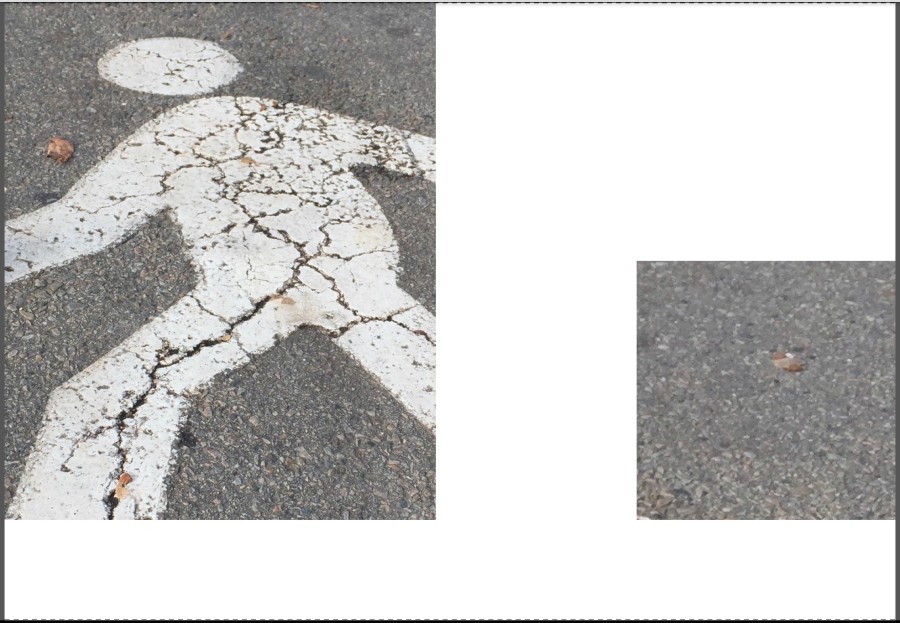
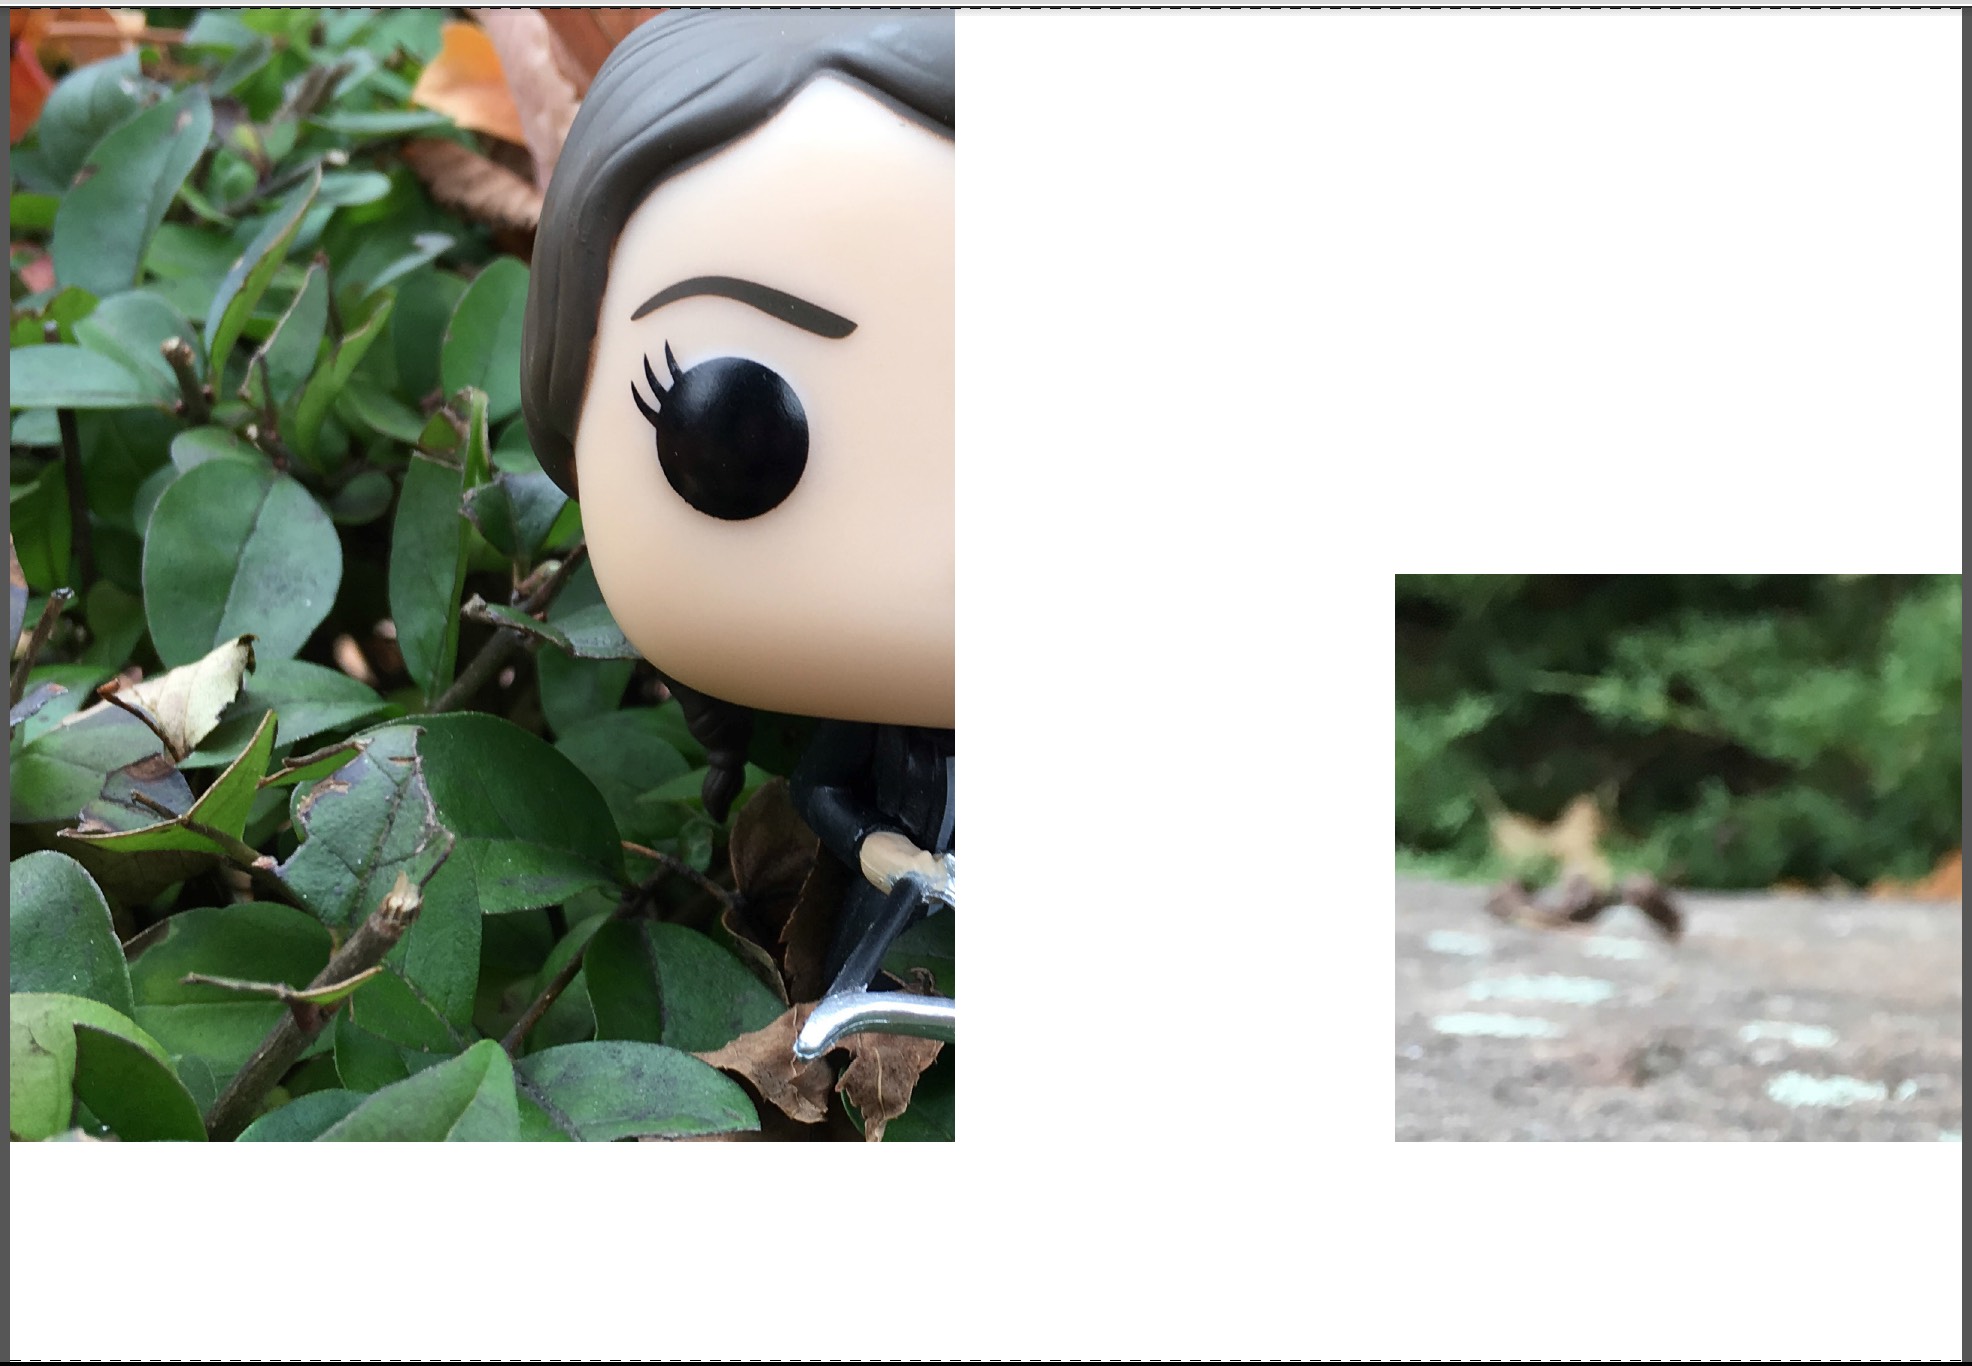
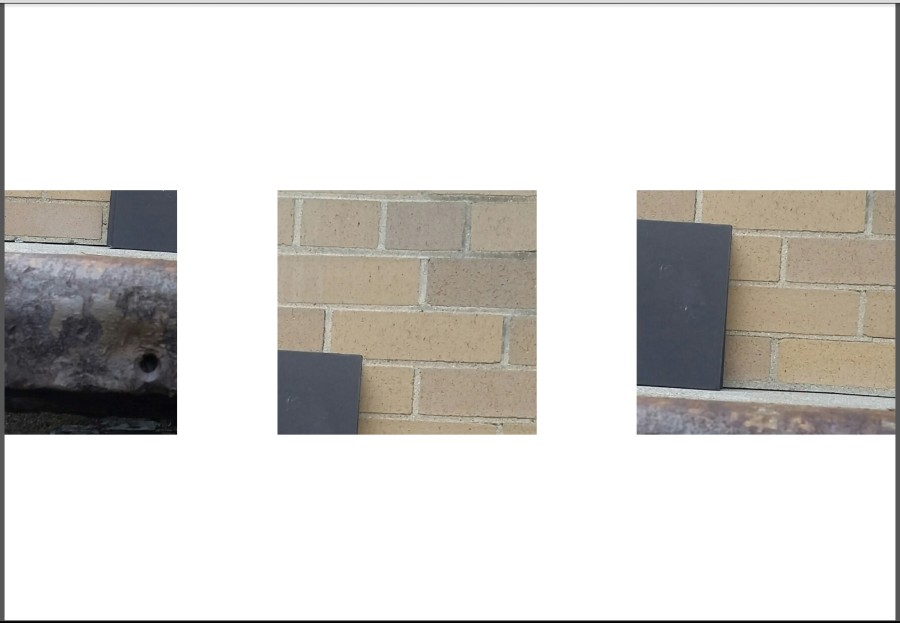
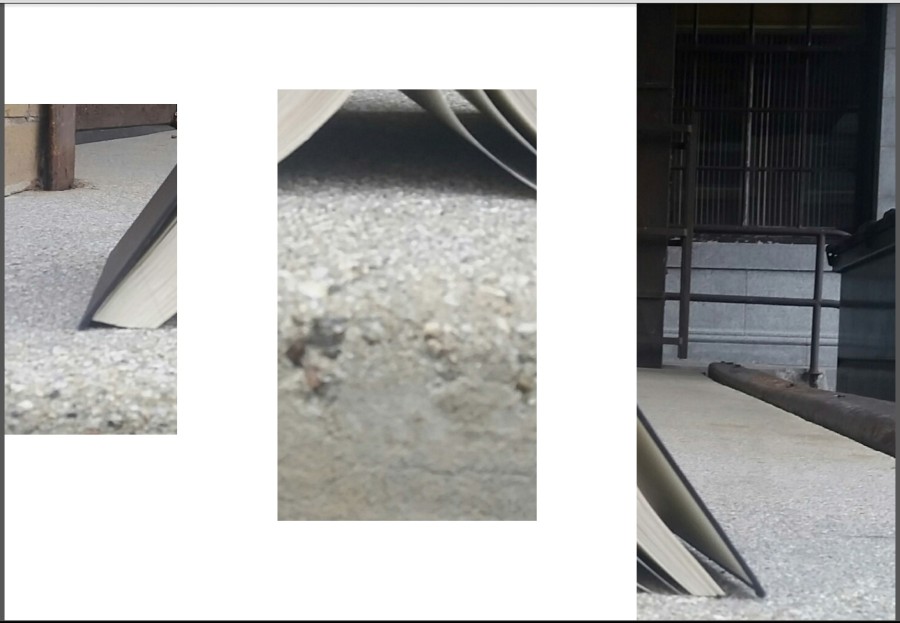
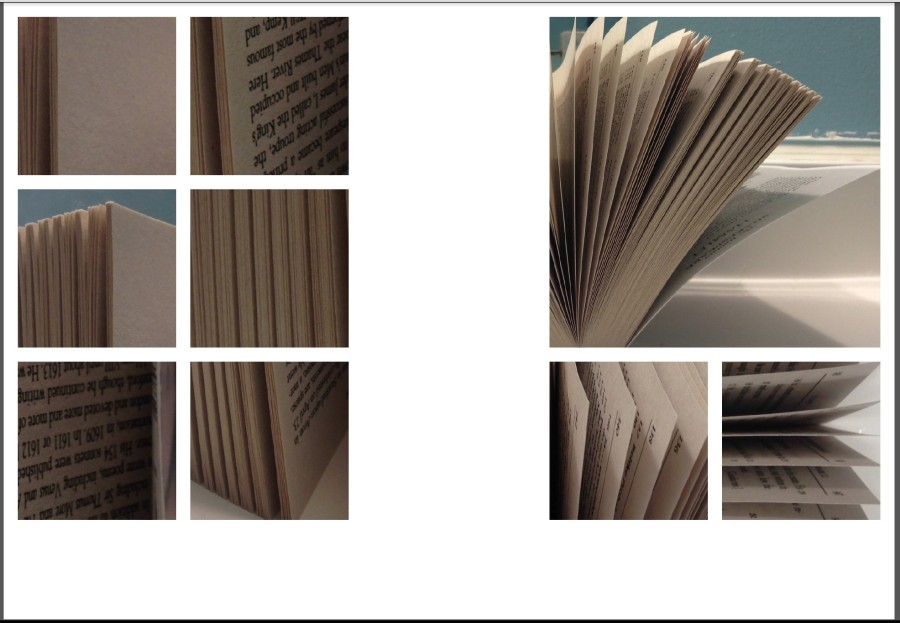
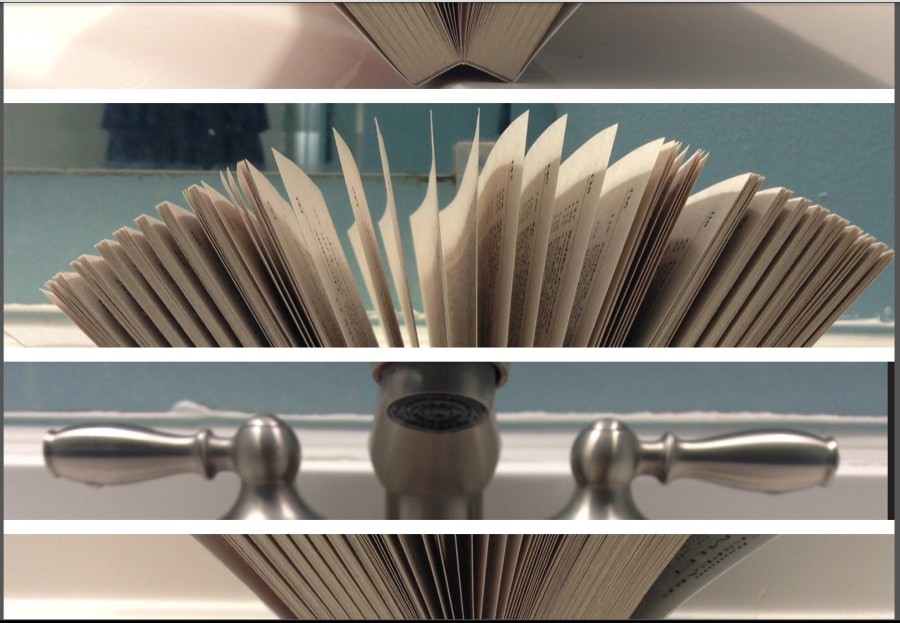
Examples
These are some great spreads from student projects. These beautiful and creative layouts can be accomplished with virtually any image. It is not the image, it is how you use it:


Due Monday, November 2
Bring 5 PDFs to class ready to view. If you resolve the structure first, these swaps will take only minutes to perform. It may seem like a lot but…
- Your final color enhanced photograph version
- A color tinted version
- A grayscale version. Be sure to adjust levels for good strong (not too strong) contrast.
- Web Image Swap Version (Try doing a few of these).
- One more version of your choice. Remember to use 3 images only.

Leave a Reply
You must be logged in to post a comment.